Disclosure: This post may contain affiliate links, which means I may receive a commission if you click a link and purchase something. While clicking these links won't cost you anything, they will help me to keep this site up and running! Check out the full disclosure policy for more details. Thank you so much!
Everything they say about New York City is true; it’s loud, it’s busy, it’s full of life, it really is the city that never sleeps and that can be pretty overwhelming – especially when it comes to planning your first New York trip itinerary and figuring out what to do, what to see and how to get around.
Although I had passed through New York a couple of times as a kid, this was my first time planning my own New York trip itinerary as it was the perfect place for Taylor and I to “meet in the middle” and see each other for a week (my partner lived in Oregon).
We were fortunate enough to have friends to stay with in New York for the week, so unfortunately you won’t find any accommodation recommendations in this guide but what you choose will depend very much on your own budget and how long you’re there for - there are plenty of options to choose from in New York.
Of course, if you do have the option to stay in New York longer, the rest of the state has so much to offer and I highly recommend planning a New York road trip to make the most of your time in the state! Alternatively consider taking a bus trip from New York City to Philadelphia and experience another iconic US city on your trip!
NEW YORK SPREADSHEET ITINERARY PLANNER - FREEBIE DOWNLOAD
I had a huge list of things we wanted to cram into a week, so much so that I put together a spreadsheet (yes, I am a nerd) which you can download here. This spreadsheet is split into neighbourhoods and covers the well-known tourist spots for first-time visitors, and the lesser known – plus some breweries, photo locations and food spots that we visited and would recommend (the ones we wouldn’t recommend have been removed!).
Click a link below to jump to a specific section:
Finding cheap flights to New York
Flying to New York used to always be considered an expensive trip, but it really isn’t anymore. With the introduction of budget international carriers like Norwegian Air, other major carriers (British Airways, Virgin Atlantic) have started to compete with their low prices by offering ‘Economy Light’ or ‘Economy Saver’ options. These options still give you the perks of long-haul travel – meals and unlimited drinks included, but they do not include checked baggage and you can’t pick your seat until 24 hours before.
This option was honestly perfect for me, I travel light and I really didn’t need that much for a week in New York so travelling carry-on only was fine. Particularly as carry-on for large international flights means a small carry size suitcase AND a personal item which fits under the seat. I had a wheeling suitcase and a small day backpack with more than enough room.
My flights cost £192 RETURN. (Thursday – Thursday travel days, with Virgin Atlantic, booked 3 months in advance).
For more tips, check out How to Find Cheap Flights.
Getting to and from the airport
Once you arrive at the airport, there is always the small stress of trying to get to your accommodation while navigating a new city. Depending on how many of you there are, plus your baggage, it might be easier and cheaper to take a cab. All New York yellow cabs are fixed meter fares so you don’t need to worry about being ripped off by getting in a cab at the airport. Just head towards the designated taxi rank outside the terminal.
We flew into JFK and took a cab when we arrived and took the metro when we returned to the airport. Both were easy and straightforward, especially after we had been using the metro system in the city for a week. In fact, taking the metro is often quicker than a cab – I’ve never seen so much traffic in my life!!
How to get around the city
The New York public transit system is very effective and easy to navigate. We were staying in Upper Manhattan so we primarily used the metro A and C (blue) lines to take us downtown to various stops or across to Brooklyn but there are several different lines so check which is closest to where you’re staying.
If you plan on using the public transit system then get a METROCARD. I cannot recommend this little piece of plastic enough! There are two types of Metrocard:
1. Pay-per-ride
2. Unlimited rides
If you’re only visiting the city for a couple of days then it’s probably best to get the Pay-per-ride. This type of Metrocard needs to be topped up with cash and you pay for each journey as you swipe into the subway. Each ride costs $2.75 regardless of the length of journey or destination.
Benefits of Pay-per-ride
This card can be shared between up to 4 people, just swipe through then pass it back to the next person to come through. This is great for couples or young families.
You can also use this card on other transport such as the buses.
You can use this card on the AirTrain to/from JFK.
If you’re visiting New York for more than a couple of days then depending on how much you plan on using the metro, you might benefit more from using the Unlimited Metrocard. There are two types – a 7-day unlimited rides card ($33 + $1 non-refundable card fee) or a 30-day unlimited rides card ($127 +$1 card fee). We bought the 7-day card and it was such good value for money, we took the metro at least 4 times a day and we were coming from Upper Manhattan so the journey in and out each day was a minimum of 30 minutes.
Benefits of Unlimited
Unlimited travel on metro and buses, only pay the initial $34 fee.
The card is not activated until the first time you swipe in. So if you buy it then don’t use it for the first two days, you haven’t eaten into your 7 or 30 days of travel.
If you travel 12 or more times in the time period then you are better buying the unlimited card than the pay-per-ride.
BUT
You cannot share an unlimited card (there is a time limit of 18 minutes between turnstile swipes which we discovered after Taylor swiped then tried to go the wrong way through the turnstile. We then had to wait 18 minutes before he could swipe in again or ask the manned booth to let us in).
Unlimited tickets are not valid on the Air Train. You will need a separate ticket which is $5.
You can buy Metrocards at the automated machines in most stations or at the manned booths. Note that some automated machines will only accept card. They also ask for a ZIP code but if you’re from outside the USA just enter 00000.
You can find all this information and more in How to get around New York City.
New York City Pass
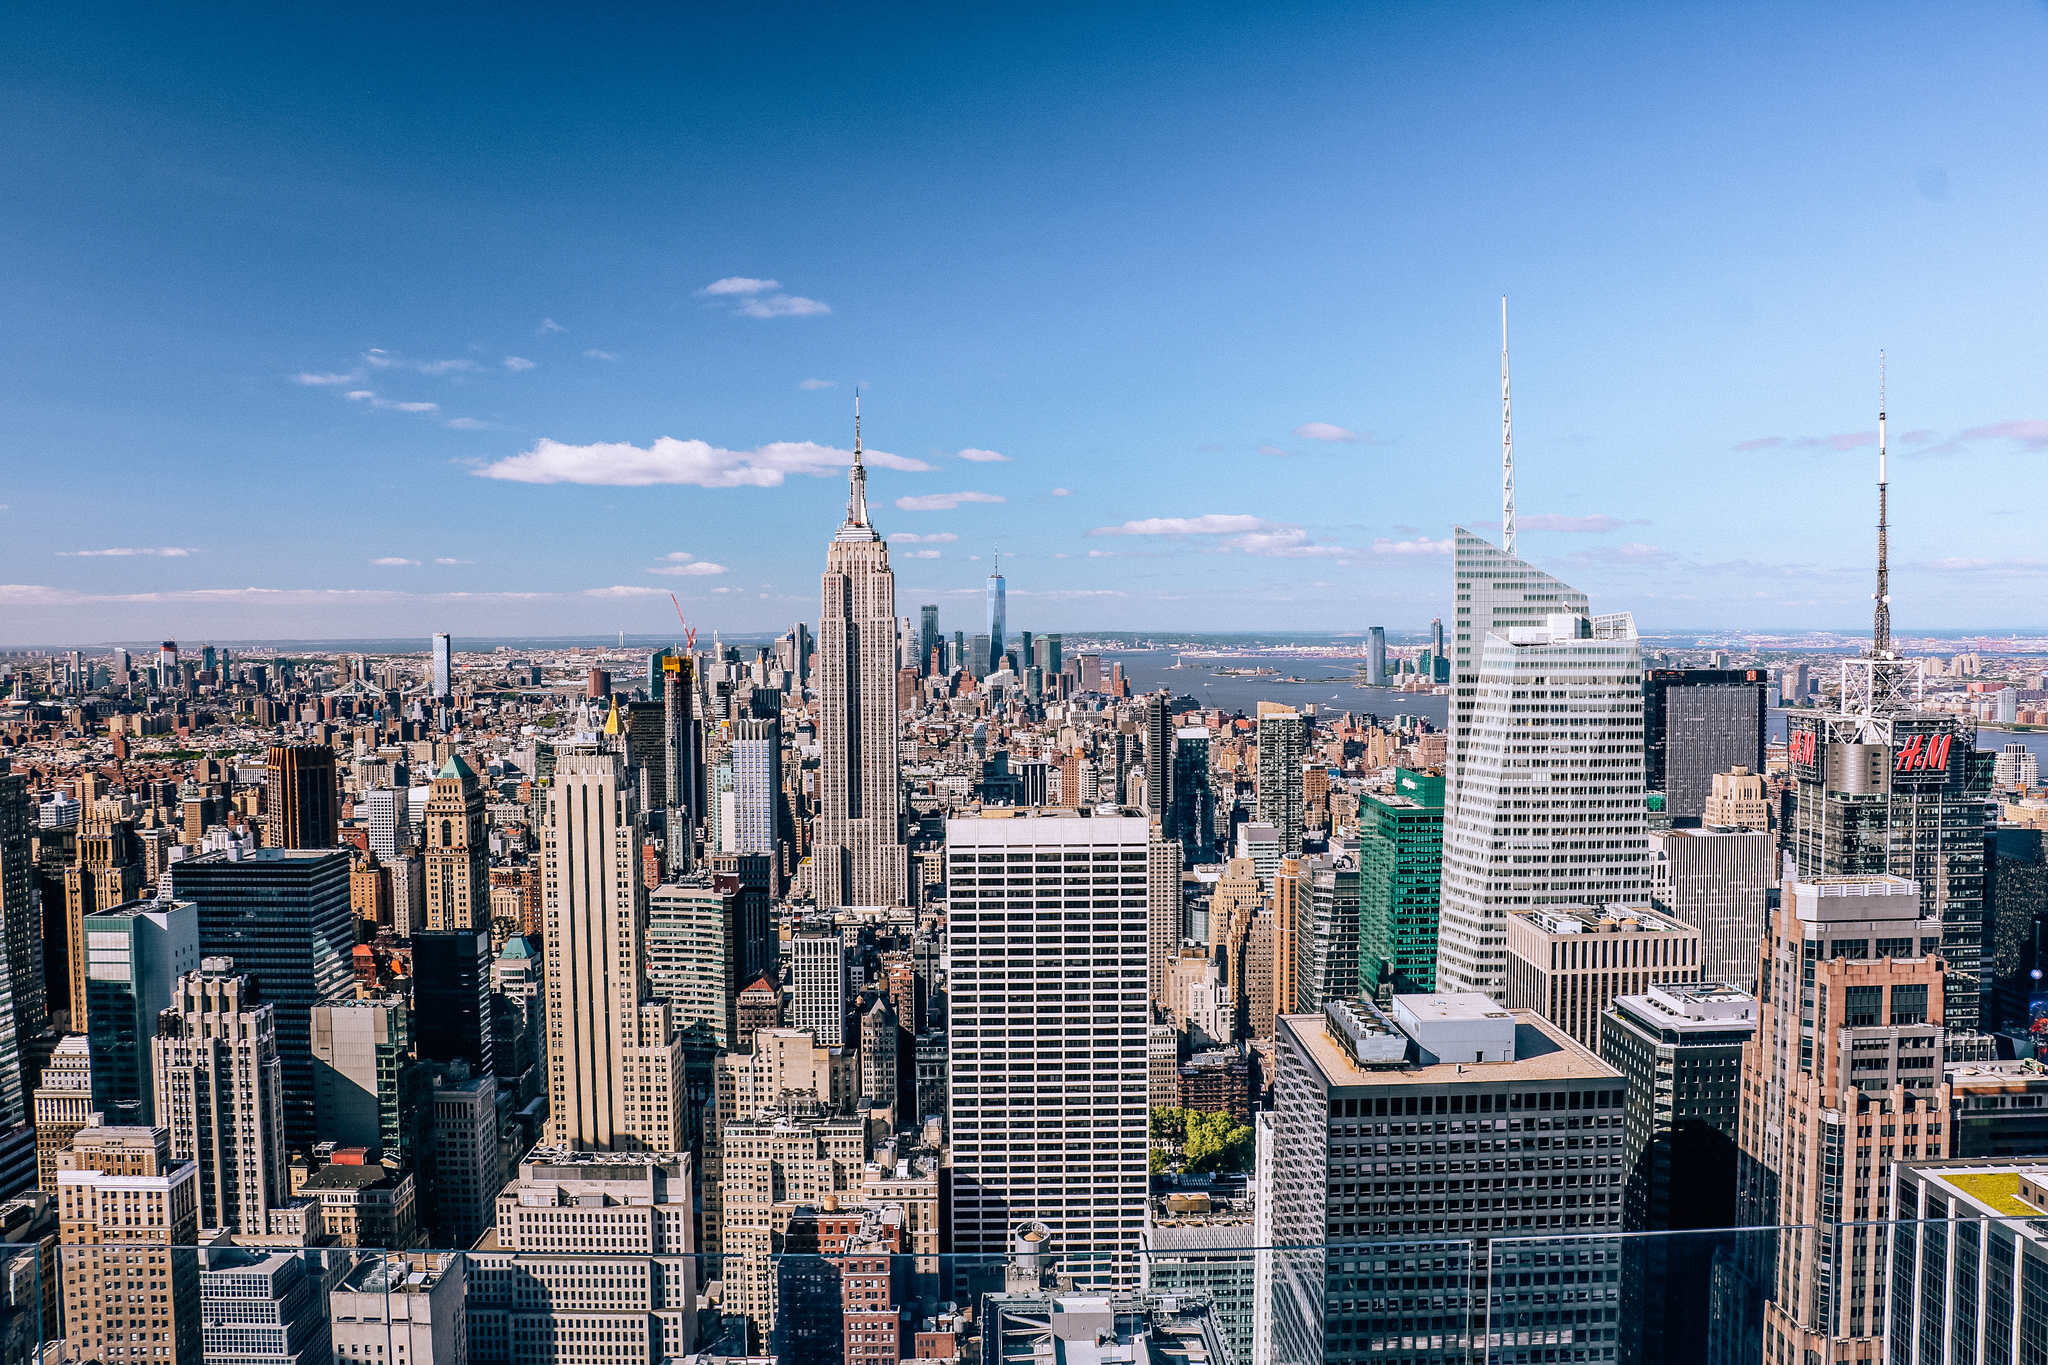
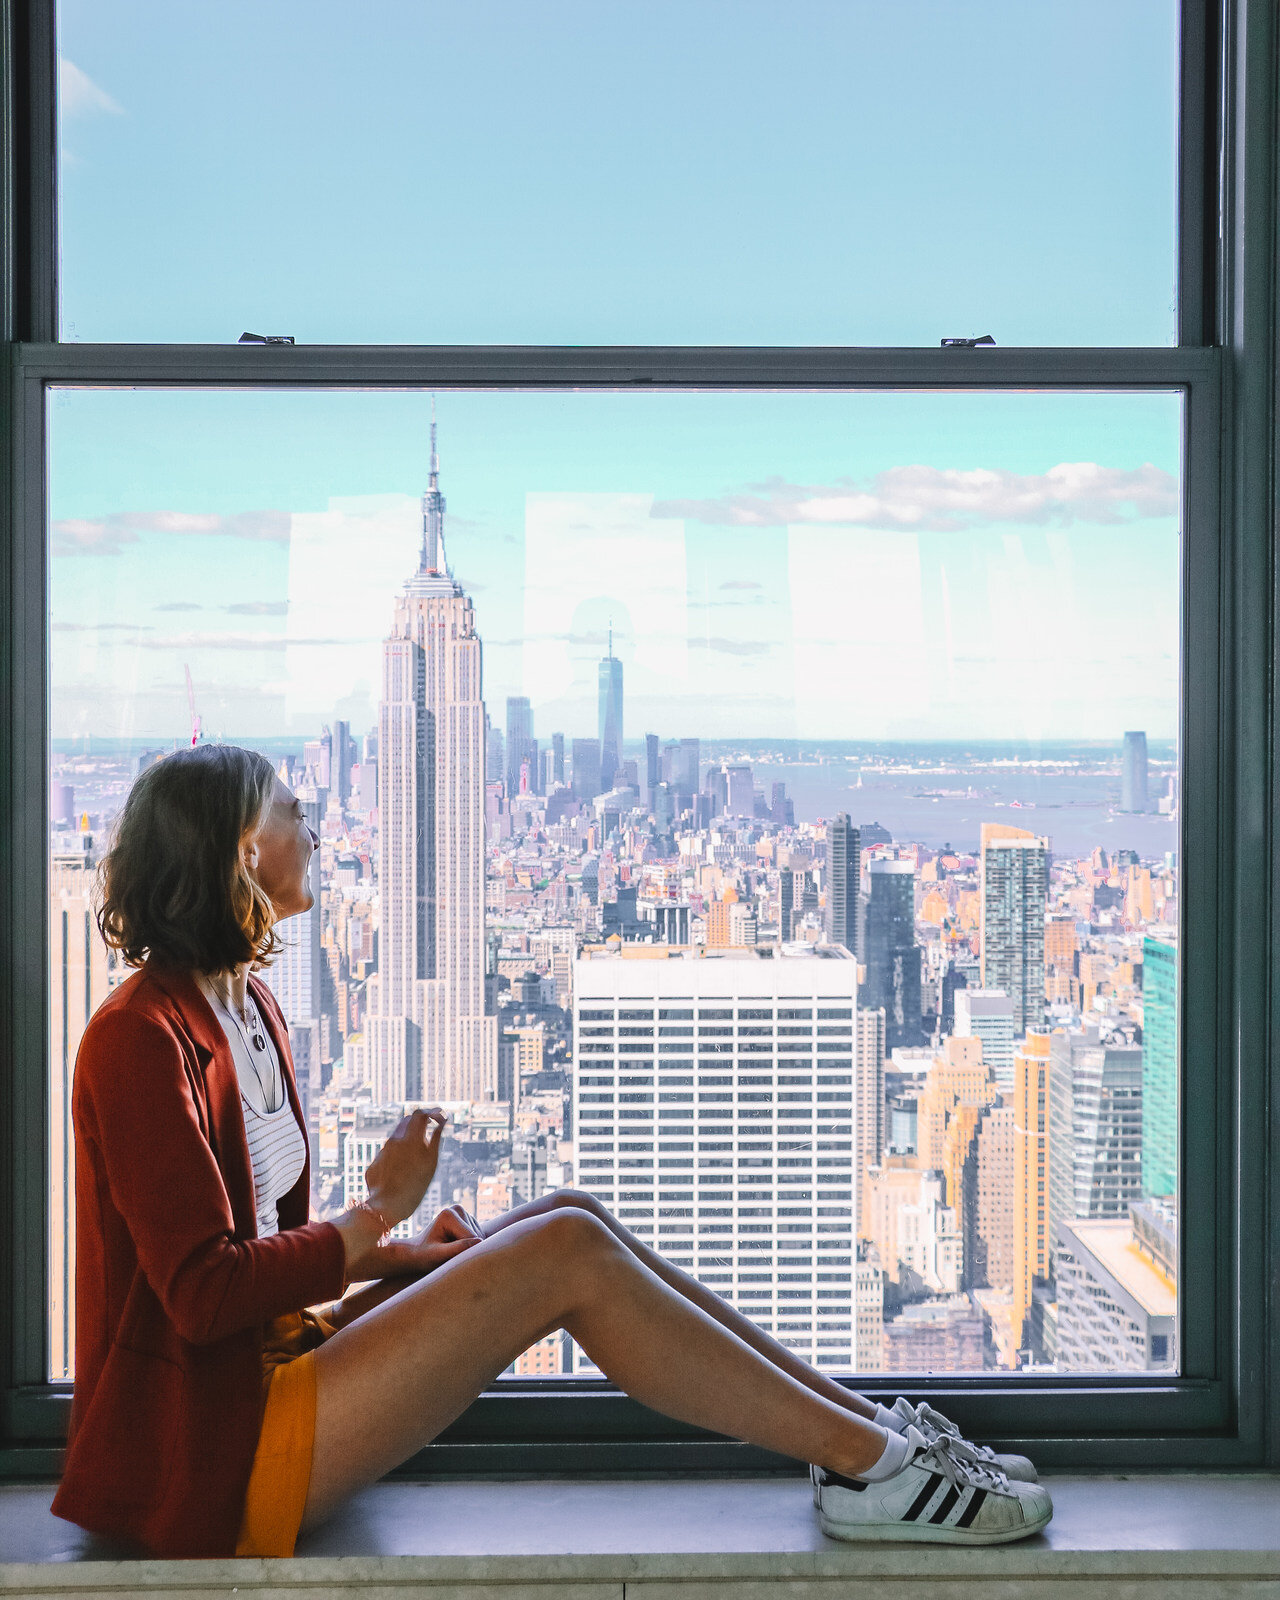
New York rooftop view from the Empire State Building
If it’s your first time in New York and you are wanting to see all the main sites then I really recommend getting a City Pass. There are loads of companies with different options, offers and combinations so it really depends what you’re looking for. Some packages even include discounts on Broadway shows and helicopter rides.
This is the pass we purchased. We looked at 3 different options and decided the main things we wanted the pass to include were:
- Empire State Building
- Top of the Rock
- 9/11 Memorial Museum
- Statue of Liberty & Ellis Island
- The Natural History Museum
- The Metropolitan Museum of Art
And this pass covered all six of these (some options on the pass have two options so you could choose between one or the other e.g. Top of the Rock OR the Guggenheim Museum). The options fitted us perfectly and the pass often means you can skip the ticket queues to head straight for the entrance.
If you have a strict schedule, some of these tickets will require booking in advance to get a specific time slot, such as Top of the Rock or Empire State Building.
We got these tickets when they were on sale on the City Pass website for £100, so again it’s worth shopping around – just type New York City Pass into Google and compare the options.
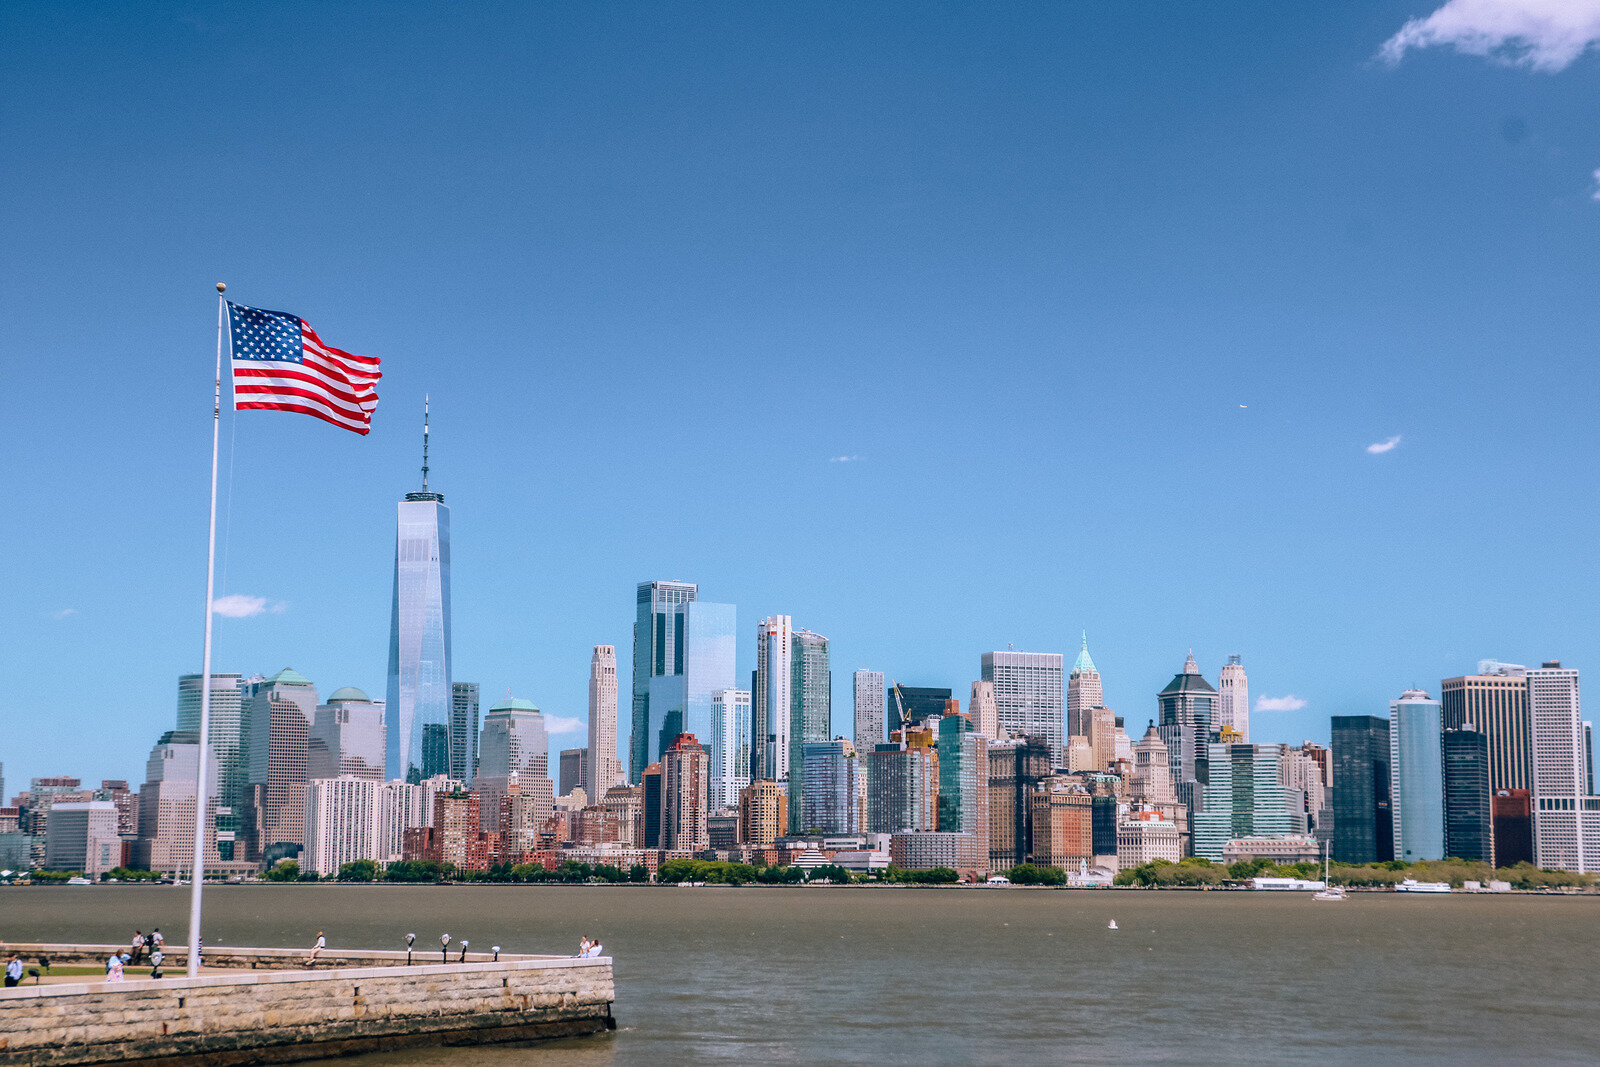
View of Manhattan from Ellis Island
New York trip itinerary: 6-days
We tried to break the city down into 6 main areas, roughly by neighbourhoods, and covered specific areas each day to fit around other activities we had booked – such as visiting the Empire State Building or Top of the Rock. We also left some free time each day to meet friends or in case we wanted to change out plans.
The guide below details the main areas covered each day and the specific locations and attractions we saw in each of them along with any handy tips. For the photographers and Instagrammers I’ve also added photo location tips since I spend a LONG time researching these.
If you just want to download the spreadsheet with the neighbourhoods and locations on you can do that here. Make sure to enable it for offline viewing on Google Drive so you can use it even without data/wifi on your trip.
Day 1
Area: Downtown/ Lower Manhattan/ Staten Island
Sites covered:
9/11 memorial museum
One World Trade Center
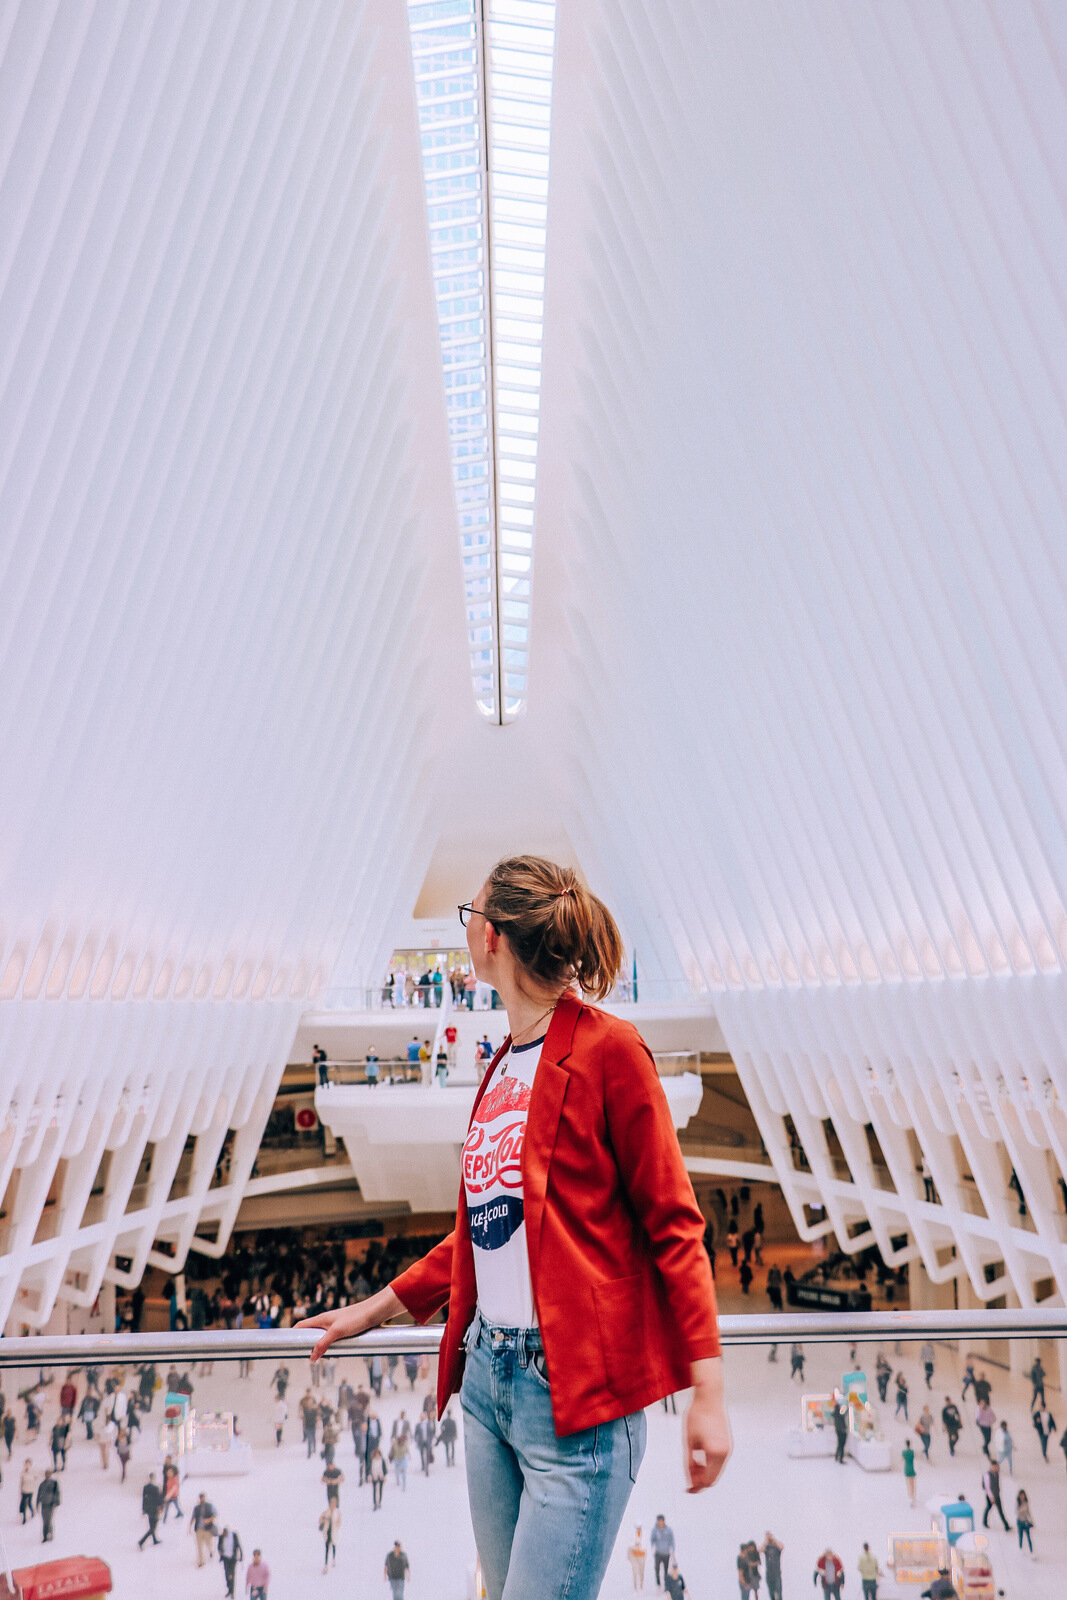
The Oculus
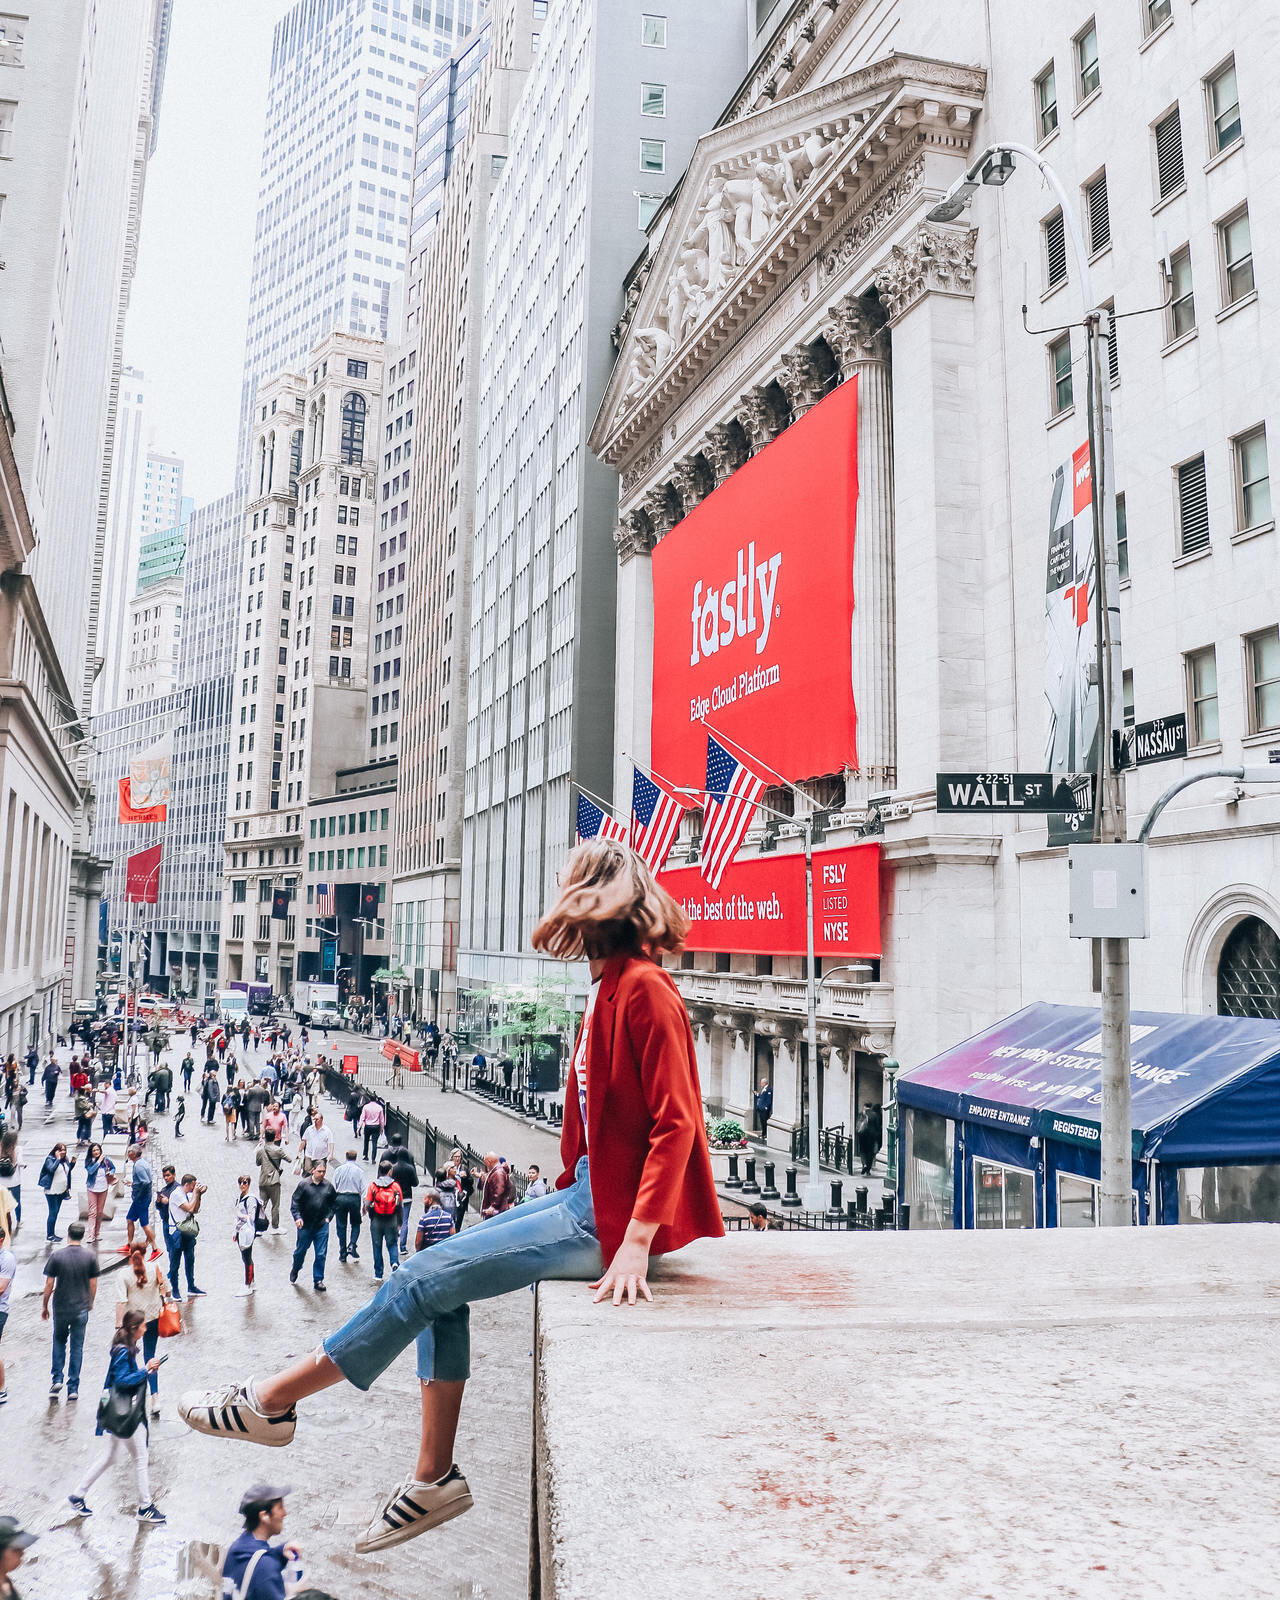
Federal Hall
Charging Bull Statue
Delmonico’s
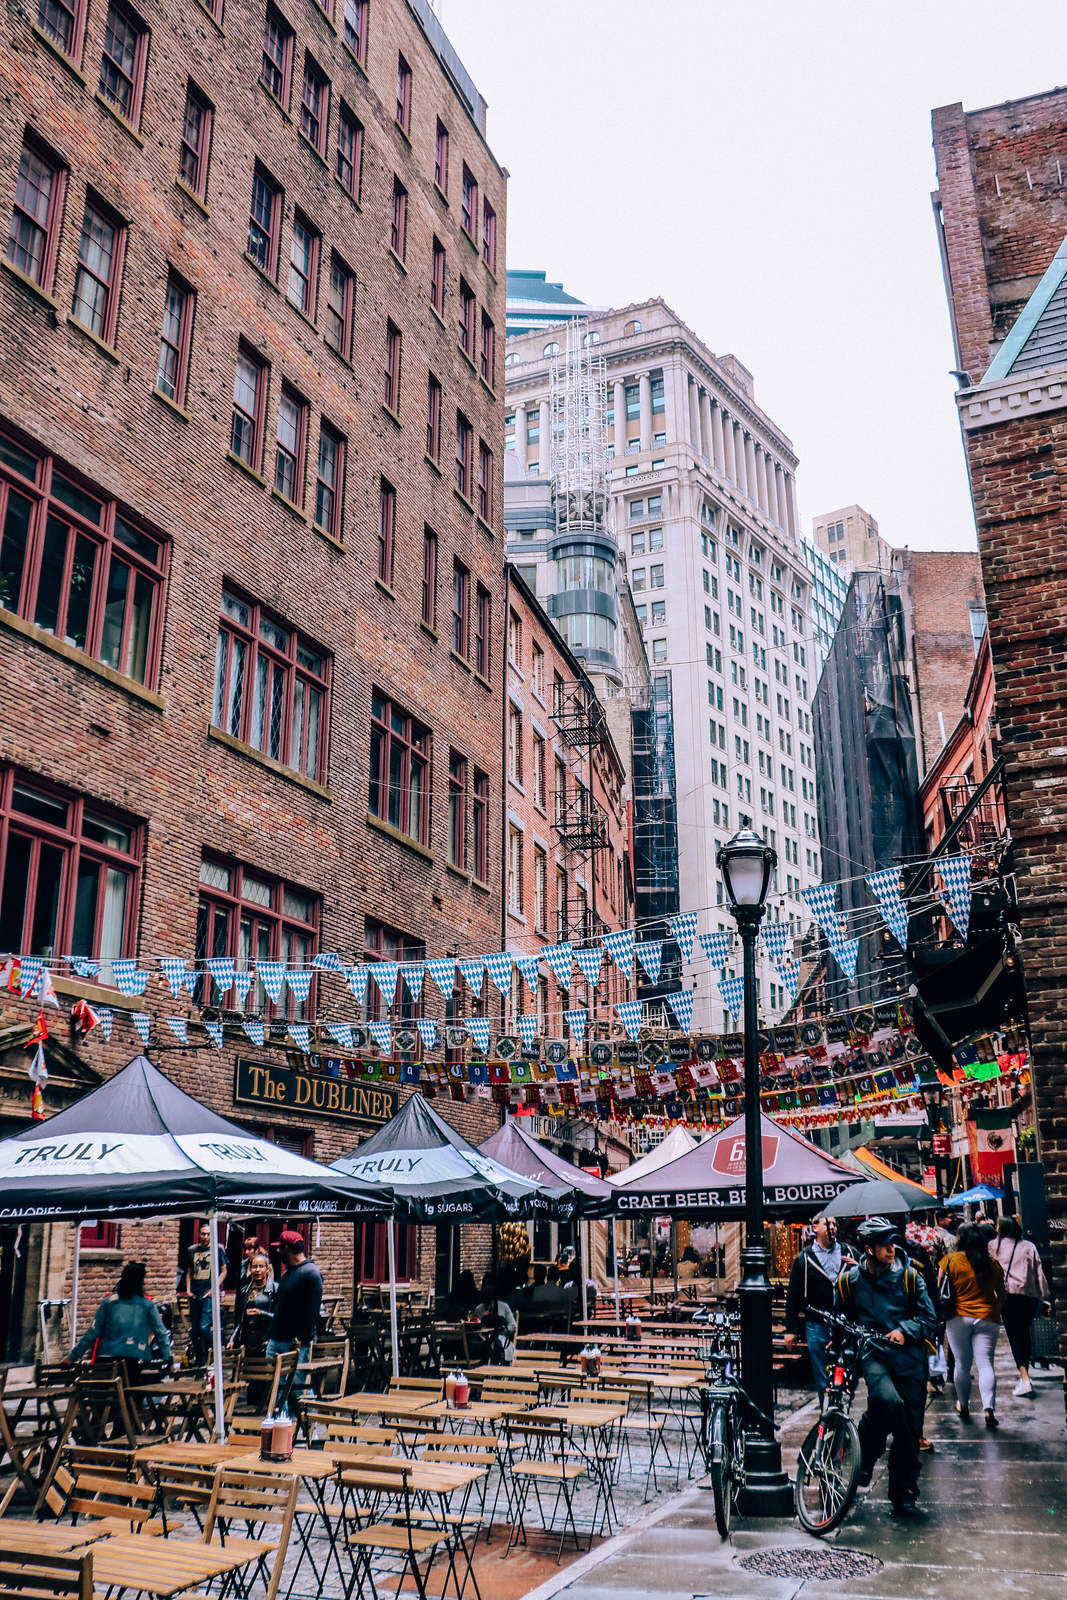
Stone Street District
Staten Island Ferry
Staten Island
Tips
We took the E metro line (blue) downtown and got off at World Trade Center stop. From here the 9/11 Memorial, Oculus and the 7th tallest building in the world - One World Trade Center, are all right there.
- 9/11 Memorial Museum was included in our City Pass which we had bought in advance. So we skipped the queues and went right in. Just bear in mind you will need to go through security checks. You can’t bring outside food or drinks into the museum (I had to scoff my banana). Altneratively, Book a ticket with skip-the-line here.
- You can also book great combination tours such as this 9/11 Memorial tour which includes the Oculus or full day NYC tour which includes the Statue of Liberty, Empire State Building and Federal Hall.
We would have loved to go back to the Stone Street District in the evenings when things get livelier. Stone Street is the oldest street in New York, complete with cobbles and the road actually bends (I’m so used to straight blocks in the US!) There are a multitude of bars and eateries in this area with street seating, it’s got a really fun vibe.
From Stone Street walk straight through to the waterfront and you can watch the helicopters taking off, we saw some military aircraft too.
Walk along to your right and you’ll reach the Staten Island ferry terminal. There are SO MANY ticket sellers harassing you here, either ignore them or tell them you’re getting on the Staten Island ferry - because the Staten Island Ferry is FREE.
Yes you heard that right, if you’re like us and don’t want to pay loads for a city sightseeing cruise, the Staten Island ferries are completely free as they’re subsidised by the city. Just head upstairs at the terminal and wait for the next boat, they’re approximately every 30 minutes. The crowds get big to get on the boat so head straight up the stairs at the back of the boat (the end you get on at) this way you’ll have the view of the Manhattan skyline as you sail away. You will also see the Statue of Liberty out the right side of the boat so get your camera ready.
We mainly went to Staten Island for the boat ride but if you want to check it out a bit, we went to a great family-run brewery just 10 minutes walk from the ferry terminal called The Flagship Brewing Company.
Prefer an organised tour to see the main sights?
Photo tips and locations
The Oculus is just a shopping centre so you can head in there for free. Go to one of the balconies at either end of the main hall to get the famous shot of the ship-like interior.
Federal Hall was on my list because if you stand on the steps you can get a great shot down Pine Street opposite.
Delmonico’s is actually a famous New York restaurant chain know for its steaks. But their restaurant in lower Manhattan is in a beautiful red brick wedge-shaped building just in the Stone Street area and it’s beautiful to photograph although unfortunately was covered for renovation when I visited.
If you want to get the picture of Stone Street with the cobbles and buildings in full, you’ll need to come very early in the morning before the business put out the tables and tents.
Take a zoom lens if you’re wanting to get close up shots of the Statue of Liberty from the Staten Island Ferry.
Day 2
Area: Midtown/ East Village/ Soho
Sites covered:
Flatiron Building
Washington Square Park
East Village shops and bars - around Bowery and 2nd Ave
Soho streets
New York Public Library
Empire State Building
Grand Central Terminal
Times Square at night
Tips
- Download this self-guided city audio walking tour for a tour at your own pace and for a fraction of the cost.
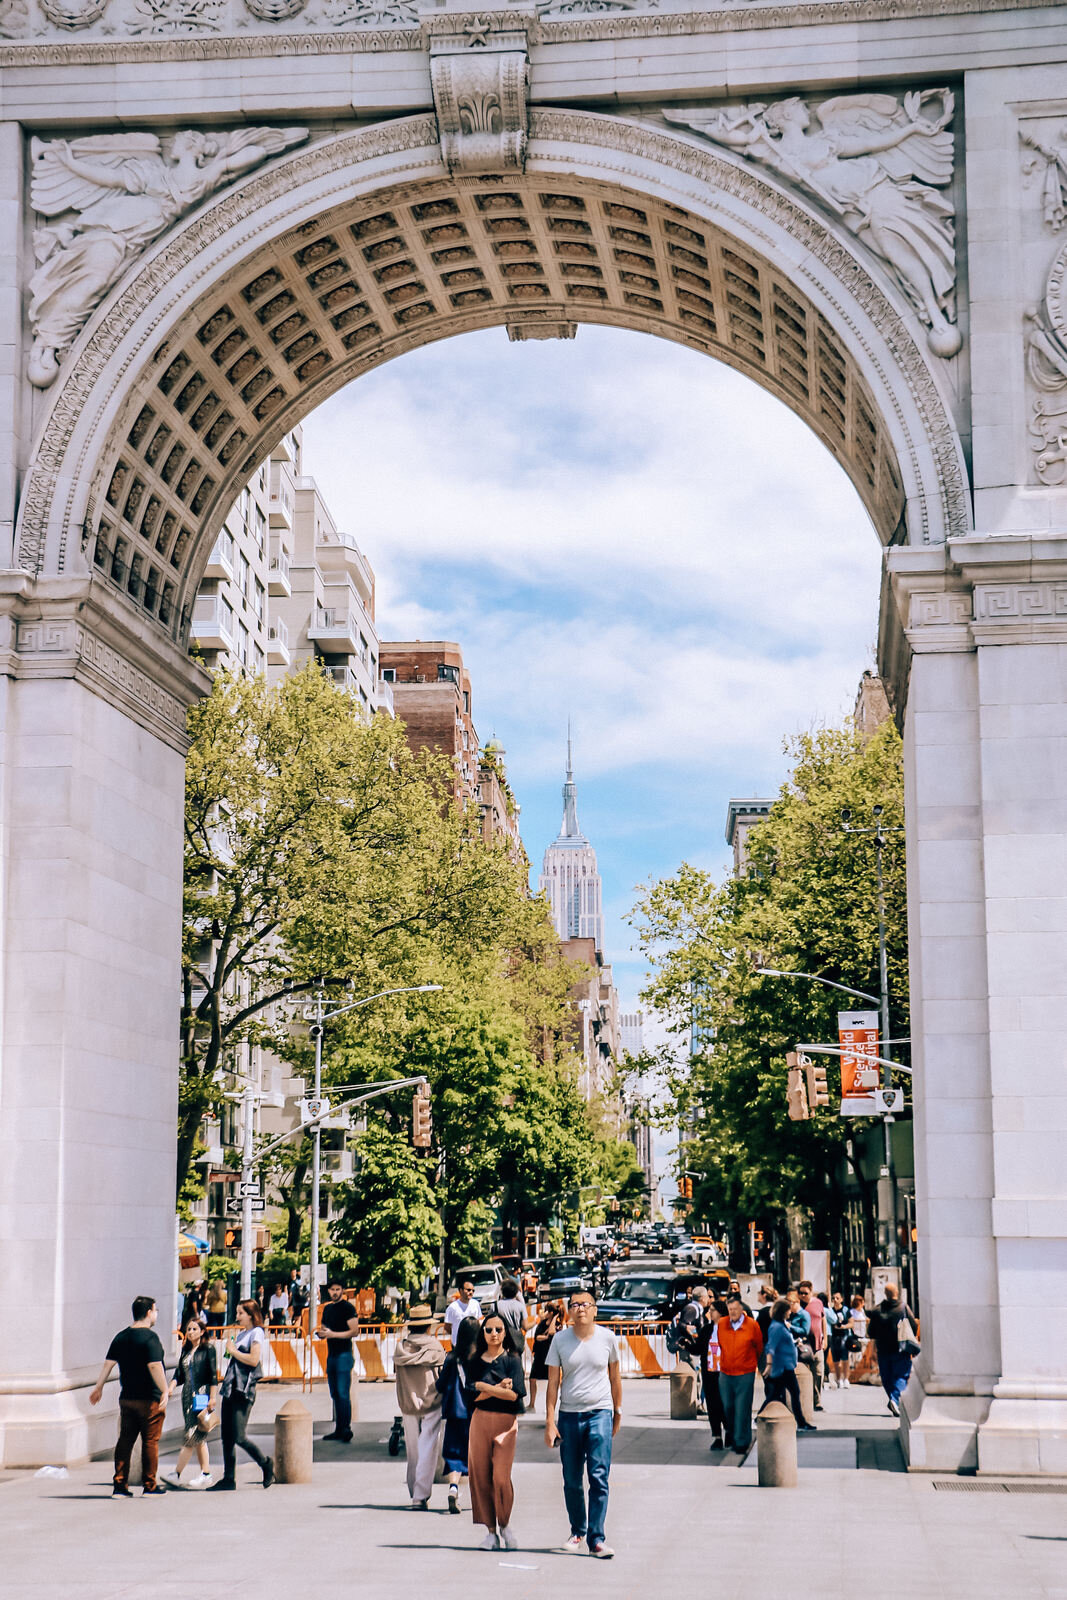
- Washington Square Park is such a pretty park, we actually went back a second time later in the trip. There are people chilling out, street music, just a lovely atmosphere although it can get quite busy in the middle of the day. this Washington Square park food walking tour is a great alternative.
East Village, New York
Just explore East Village at your own pace, it’s a really cool area. If you’re looking for great soba/Japanese cuisine in general, make sure to check out Cocoron - they’ve got a couple of locations and the soba noodles were amazing.
- Learn more abour East Village on this walking tour.
We met friends in East Village and headed on to explore Soho so unfortunately I didn’t snap as many photos as I’d have liked. But like East Village, Soho is really cool and I’d recommend checking it out for all the cool shops and independent vendors around there.
We went up the Empire State Building with our City Pass and we must have gone at a really weird time because there were no queues, we went straight up and huge crowds seemed to arrive about 20 minutes later. I think we were in the late afternoon lull but before sunset - around 6pm in mid-May.
Check the library opening hours, we arrived there too late to go in unfortunately. The library is open until 5.45pm most days with later opening on Tuesdays and Wednesdays (until 7.45pm) and usually opens at 10am, except Sundays when it’s 1pm. You can check the website here.
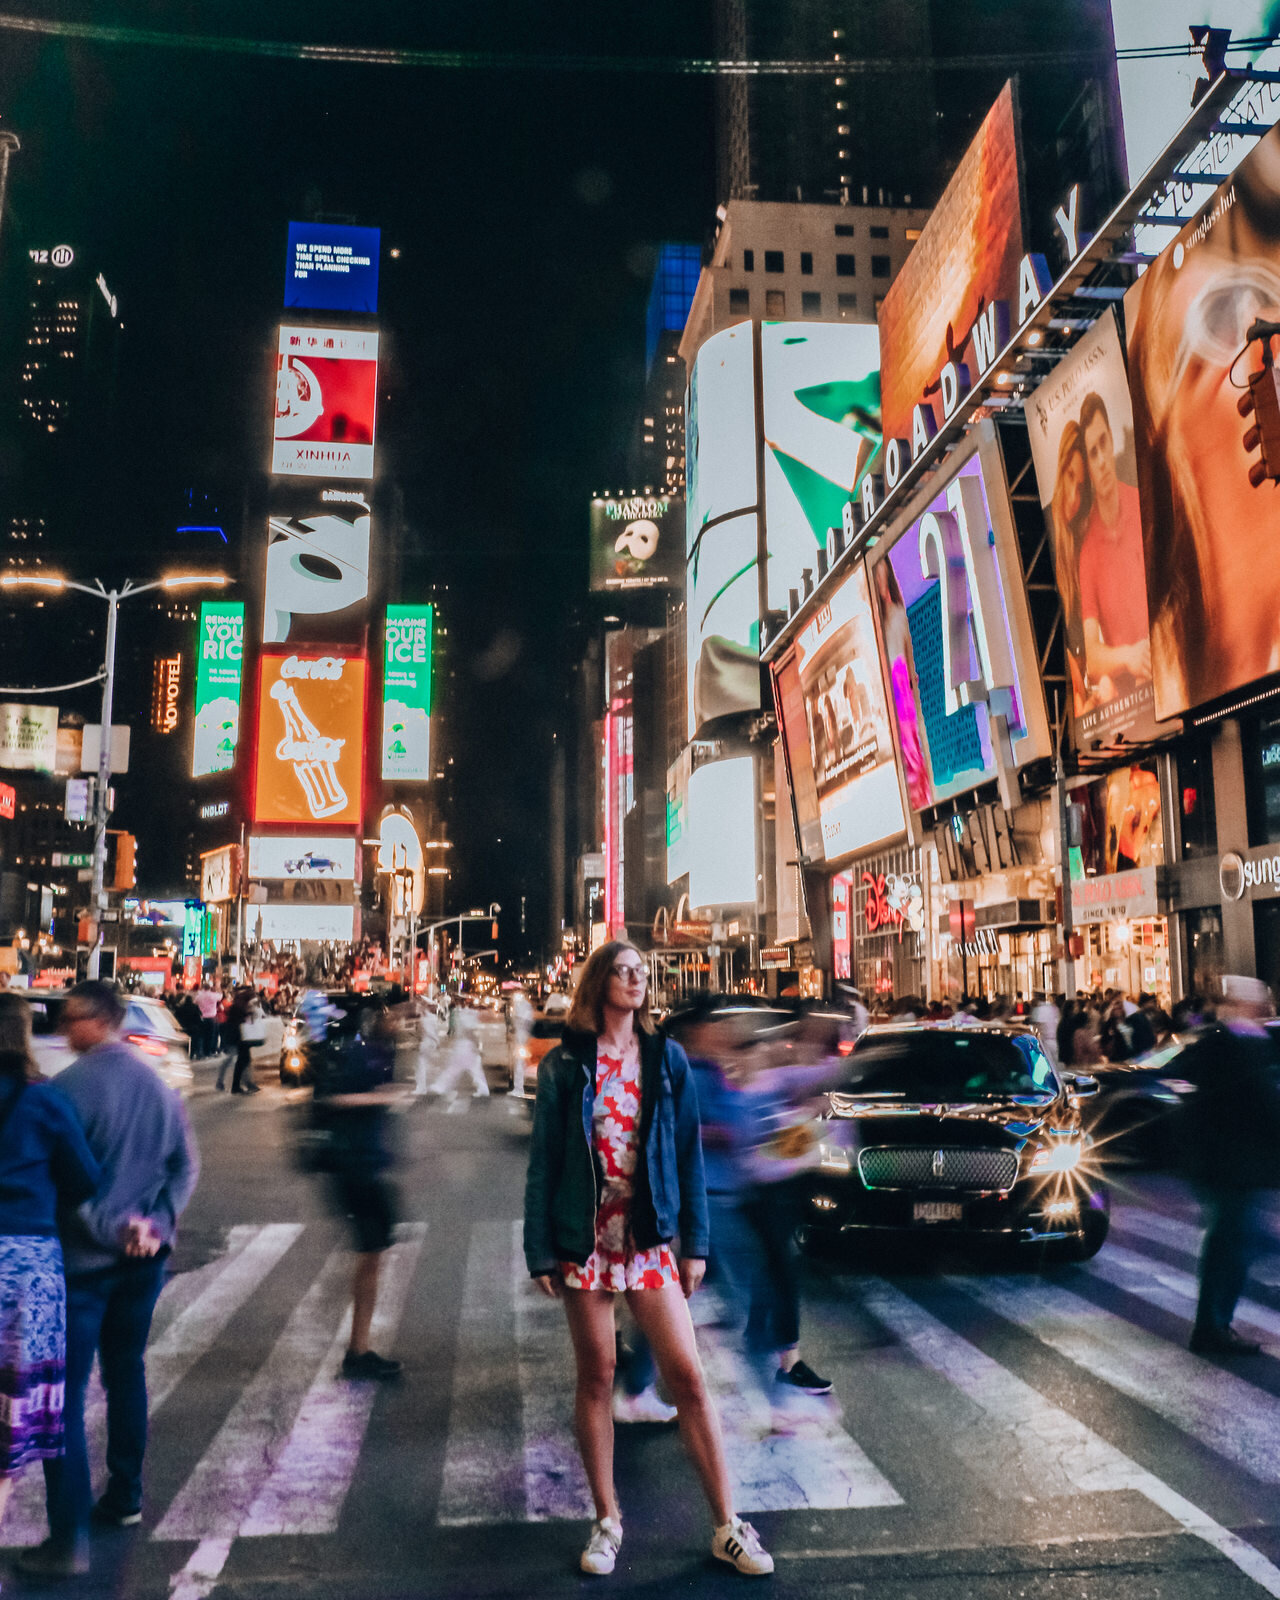
Times Square at night is SO BUSY. I really wouldn’t recommend going at night if you don’t like crowds. Try going in the day or early dusk when it’s slightly less busy. There are plenty of other great alternative things to do at night in New York City.
If you prefer walking tours to explore new areas, check out these options:
Photo tips and locations
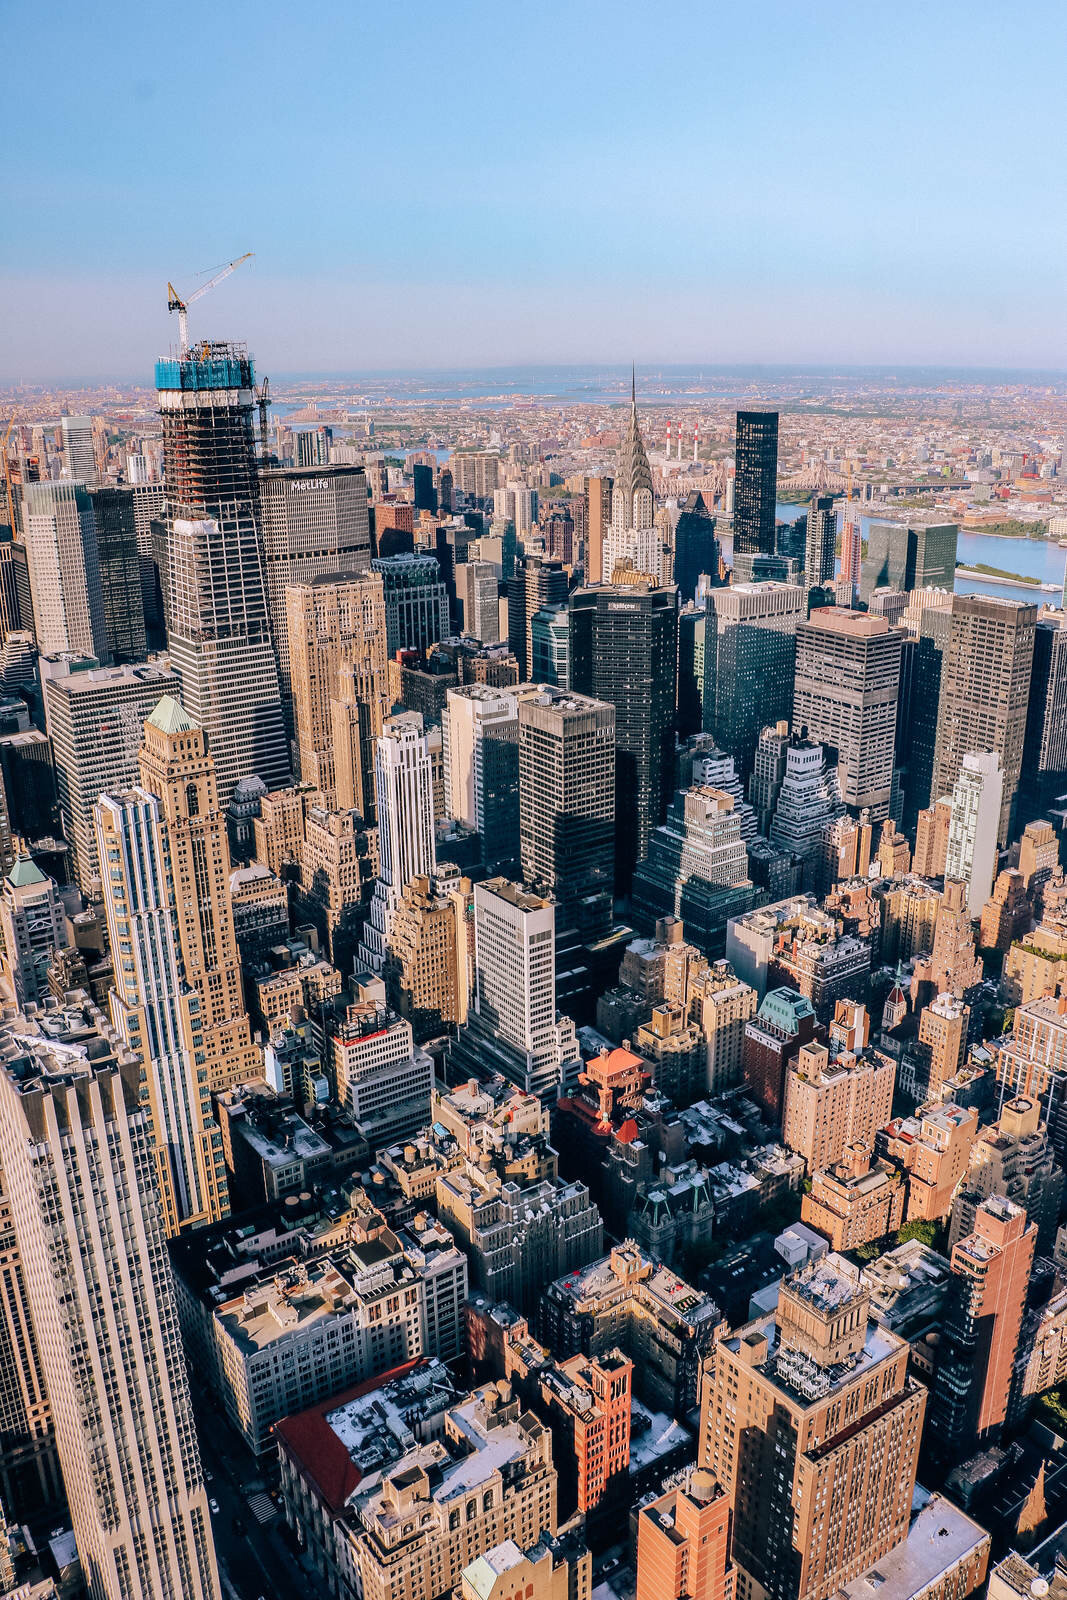
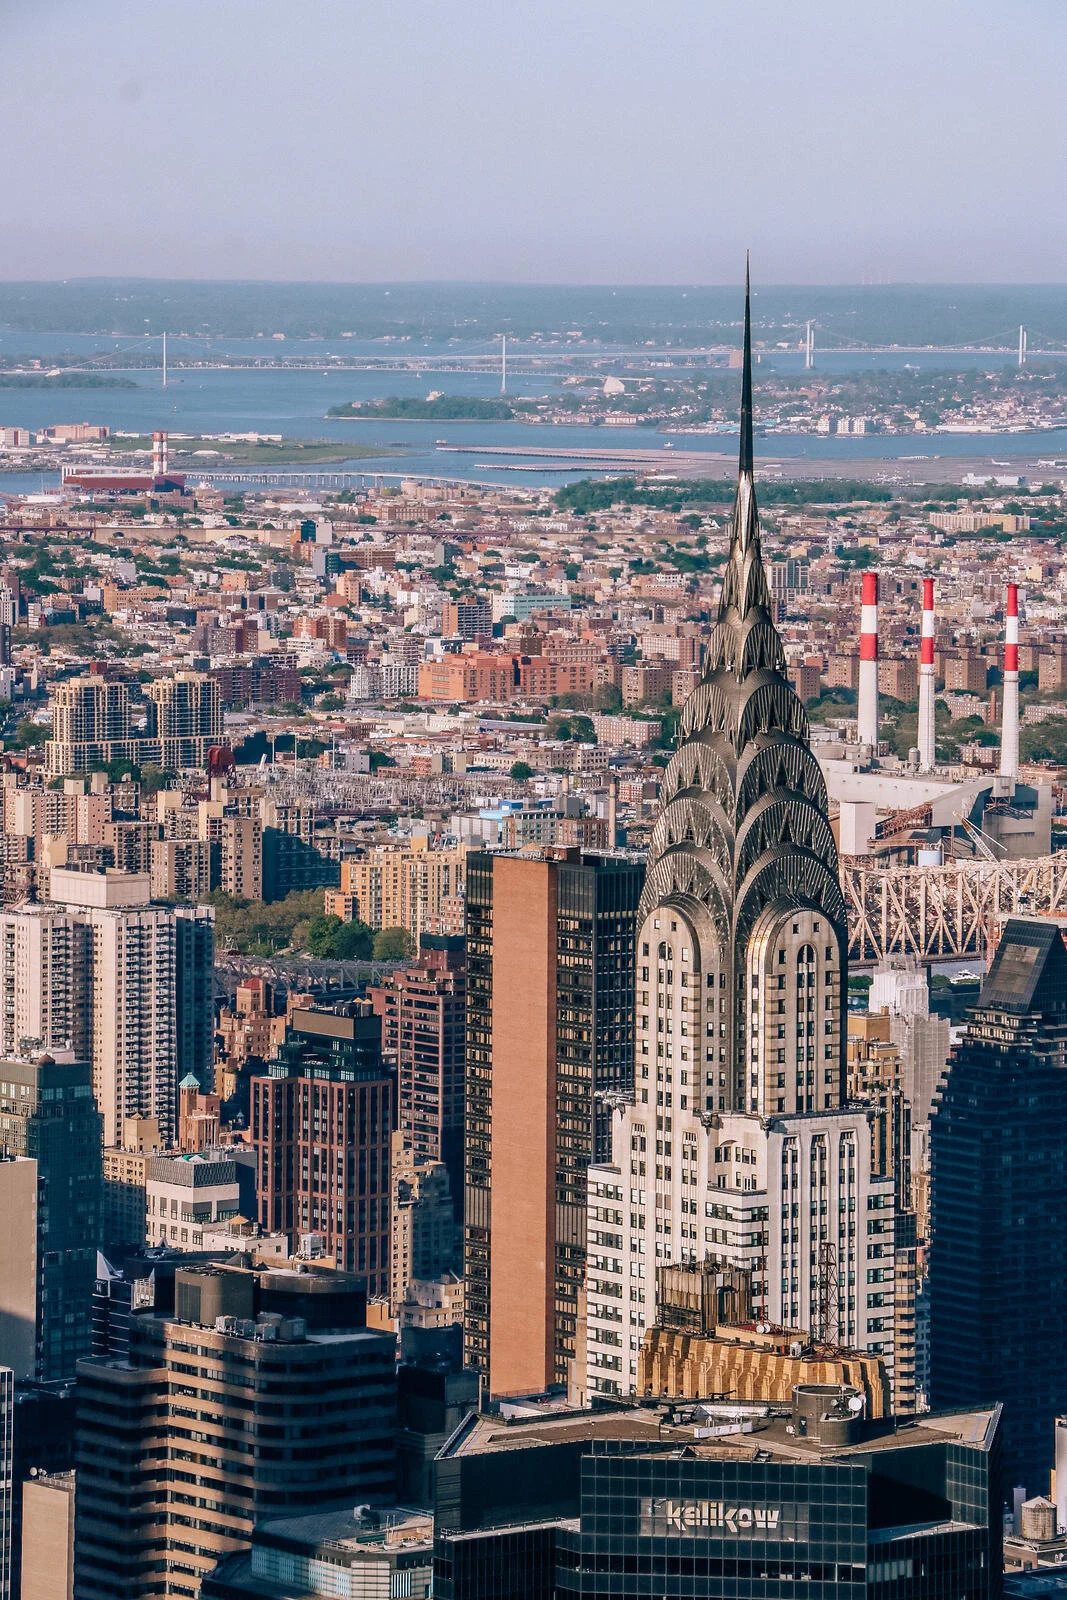
View of the Chrysler Building from the Empire State Building
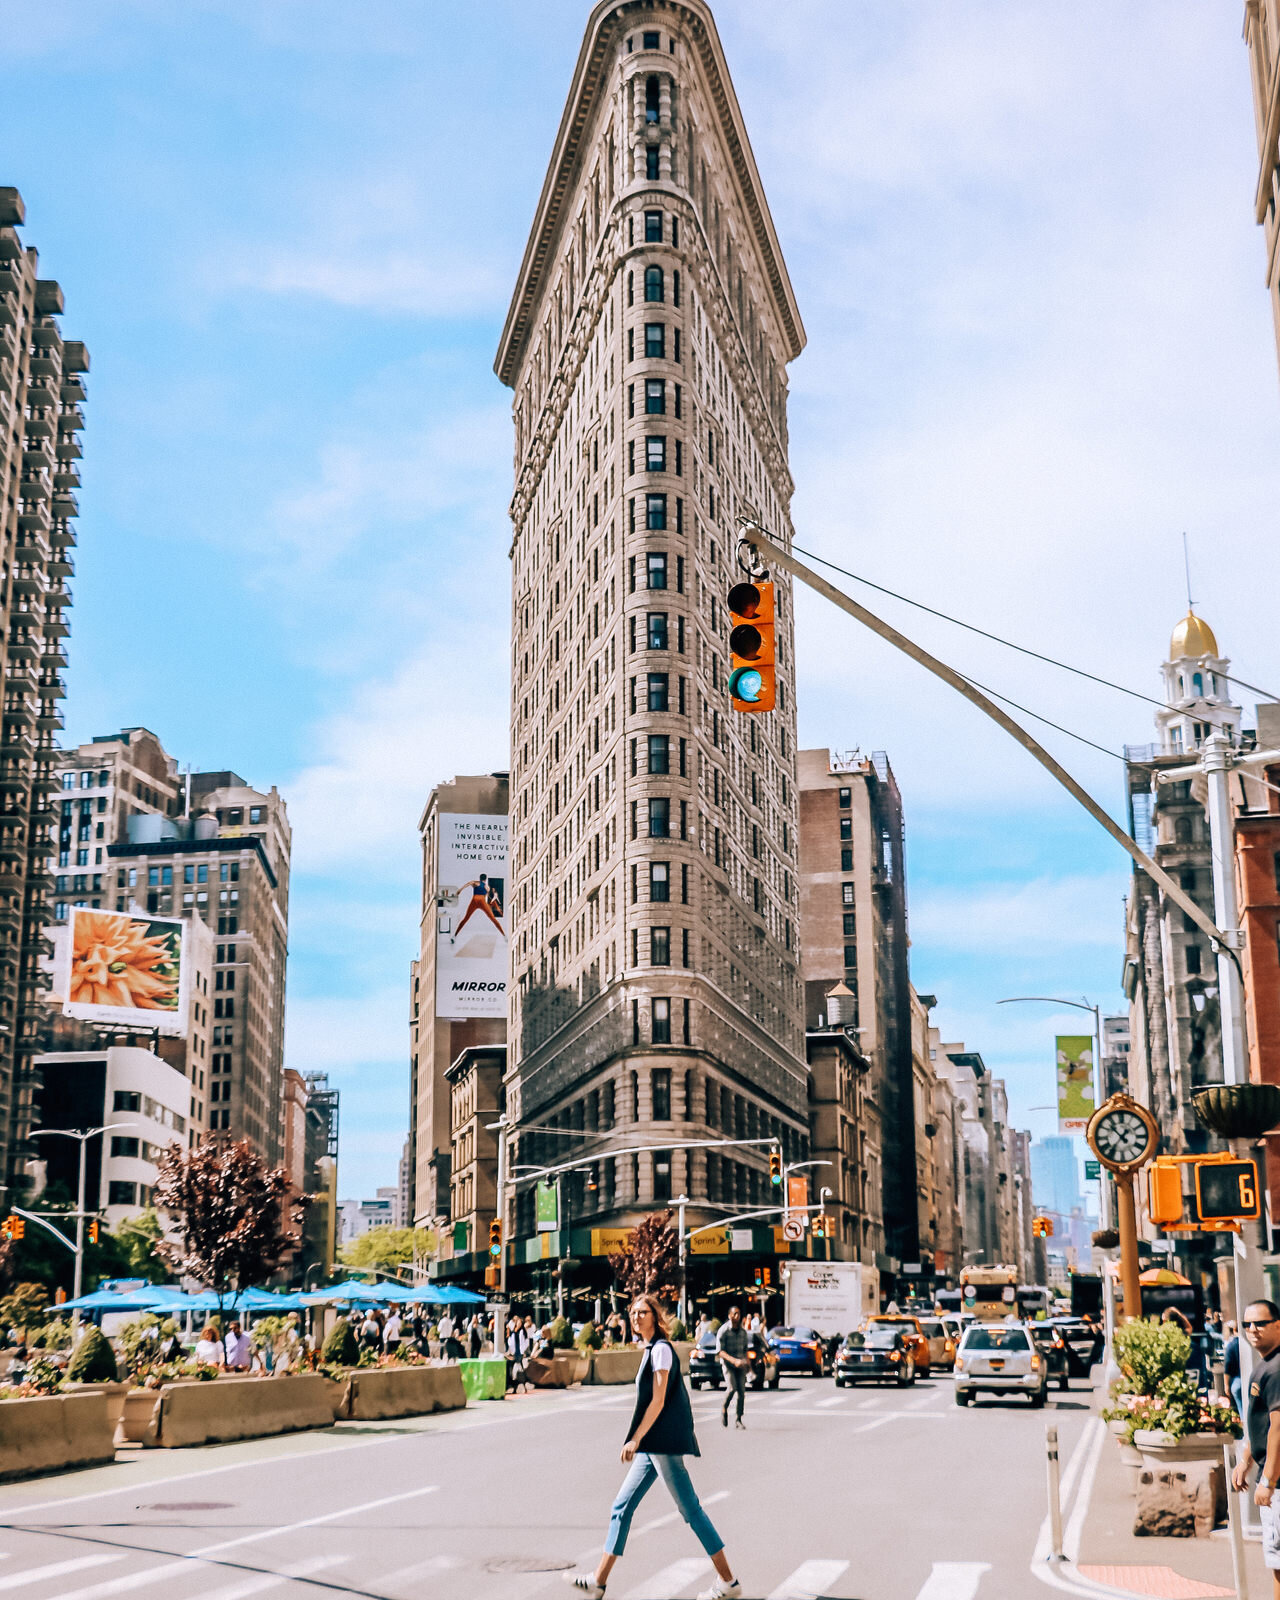
At the Flatiron there is a large pedestrianised area called Worth Square which is great for getting shots with the Flatiron building in the background. Also there are several road crossing which I used for street shots. The famous clock is on the corner of W 24th and 5th.
Washington Square Park has a great atmosphere but it’s hugely busy and more so because it was being used for graduation photography when I was there. Go early if you want to get quieter shots.
A lovely security guard at the Empire State saw my zoom lens and advised that the East Corner of the viewing platform is the best for shots of the top of the Chrysler Building with the city in the background.
The balcony at Grand Central Station is great to set up a quick time lapse of the main hall below.
If you’re looking to escape the crowds and still get night time shots of Times Square (or just a really great view) head to Novotel Times Square. They have a bar which you can visit for drinks with a view over the Square.
Day 3
Area: Brooklyn/ Chinatown/ Little Italy
Sites covered:
Brooklyn Heights
Brooklyn Heights Promenade
Brooklyn Bridge Park
Dumbo
Greenwood Cemetery
Chinatown
Doyers Street (Chinatown)
Little Italy
Tips
We’d left it too late to walk the Brooklyn Bridge (it was very hot and busy) so we ended up walking along the Promenade which we got to by taking the A or C line (blue line) to High Street - Brooklyn and walked through to the waterfront. It’s a lovely walk with a view of Manhattan and lots of dogs!
Brooklyn Bridge Park was one of my favourite spots, lots of greenery, relaxed atmosphere and amazing views.
Greenwood Cemetery (bit of an odd one, I know) is a huge cemetery in a beautiful arboretum setting. It’s free to enter, they provide a map to help guide you around and info about famous people buried there, and there are events throughout the year too. You can find more information here.
I’d recommend at least a whole day to explore this area of Brooklyn, just on this day we were there, there was a huge street festival with 10 blocks closed, live music, food, stalls etc. It was such a fun and vibrant area to hang out in the parks or explore shops.
We had great bagels at Shelsky’s Brooklyn Bagels.
To get from Brooklyn to Chinatown take the F line (orange) to East Broadway.
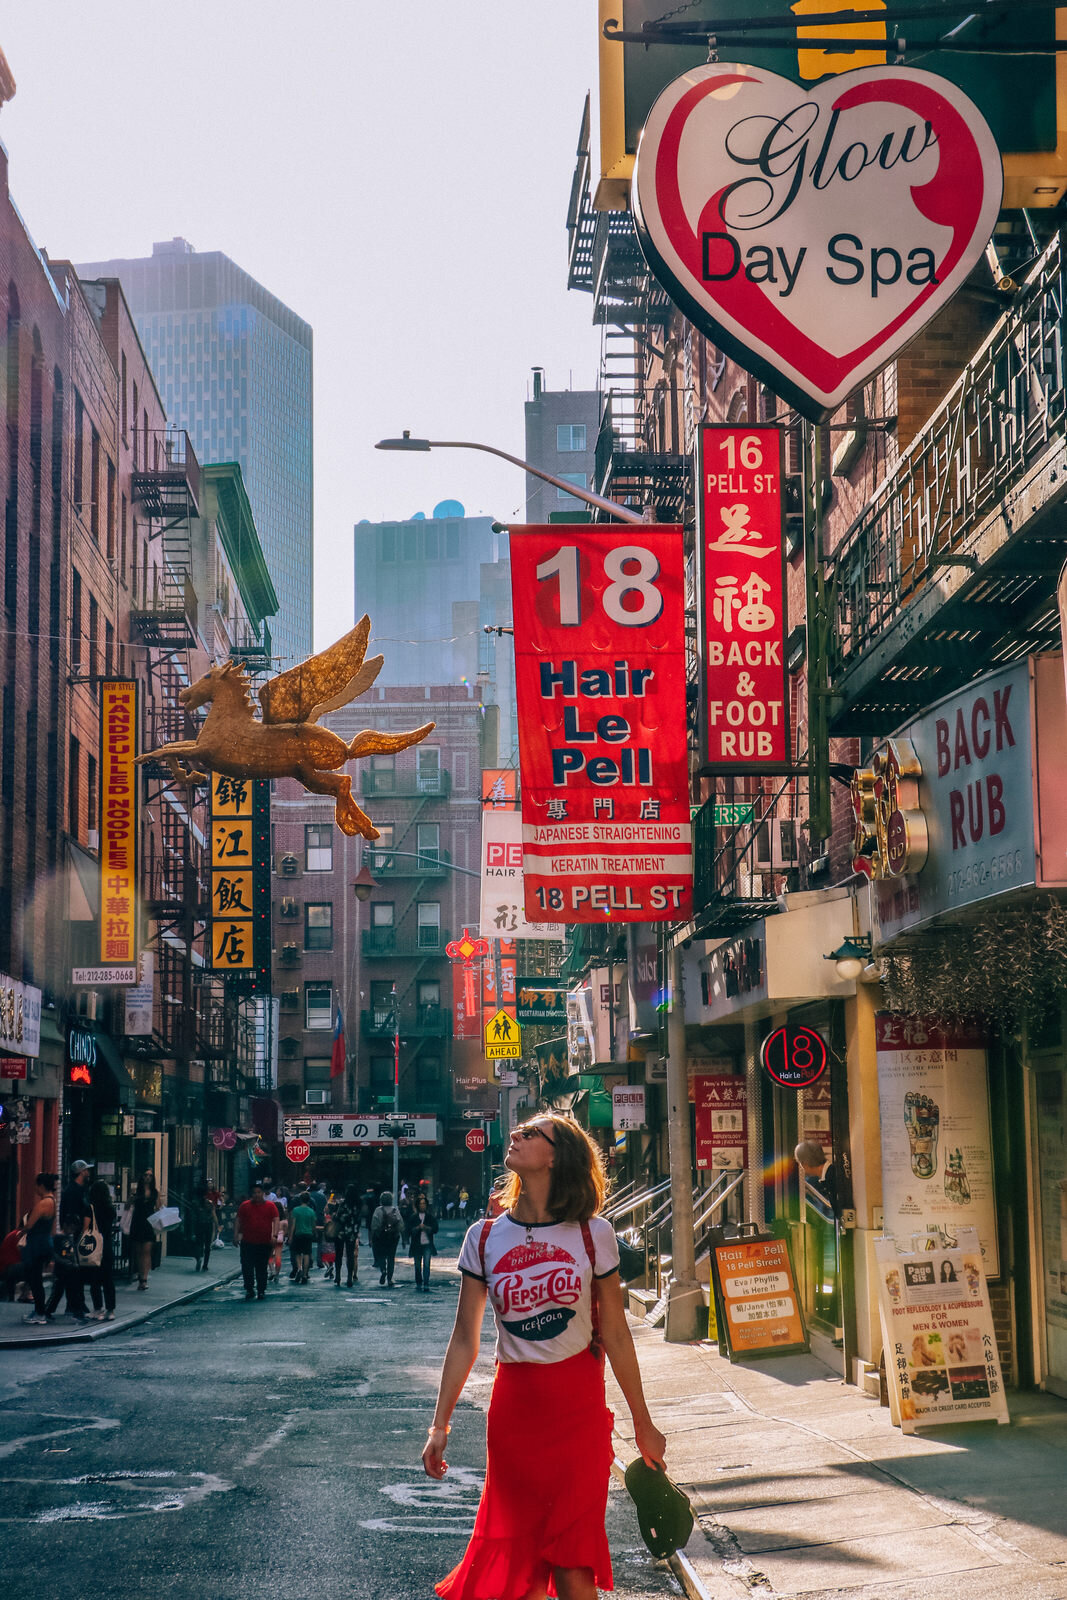
We love Asian food so we spent a long time wandering around Chinatown, taking photos, trying some food, checking out shops and street vendors. If you carry on walking uptown you’ll walk through Little Italy too.
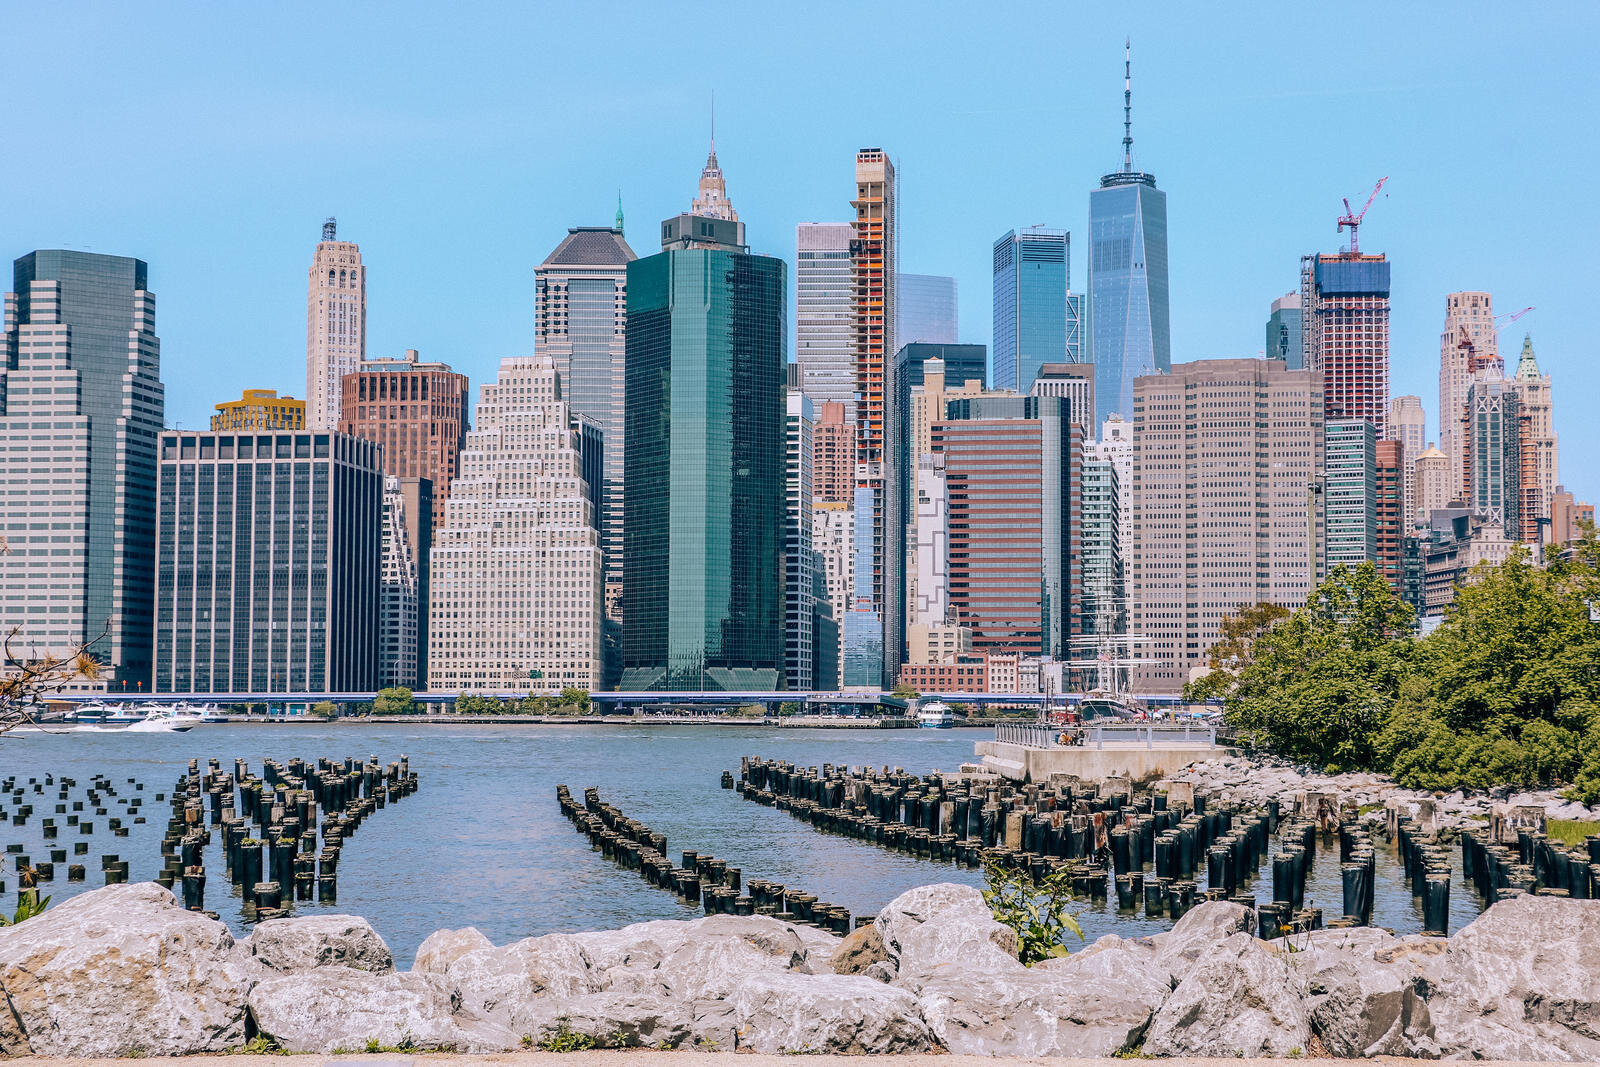
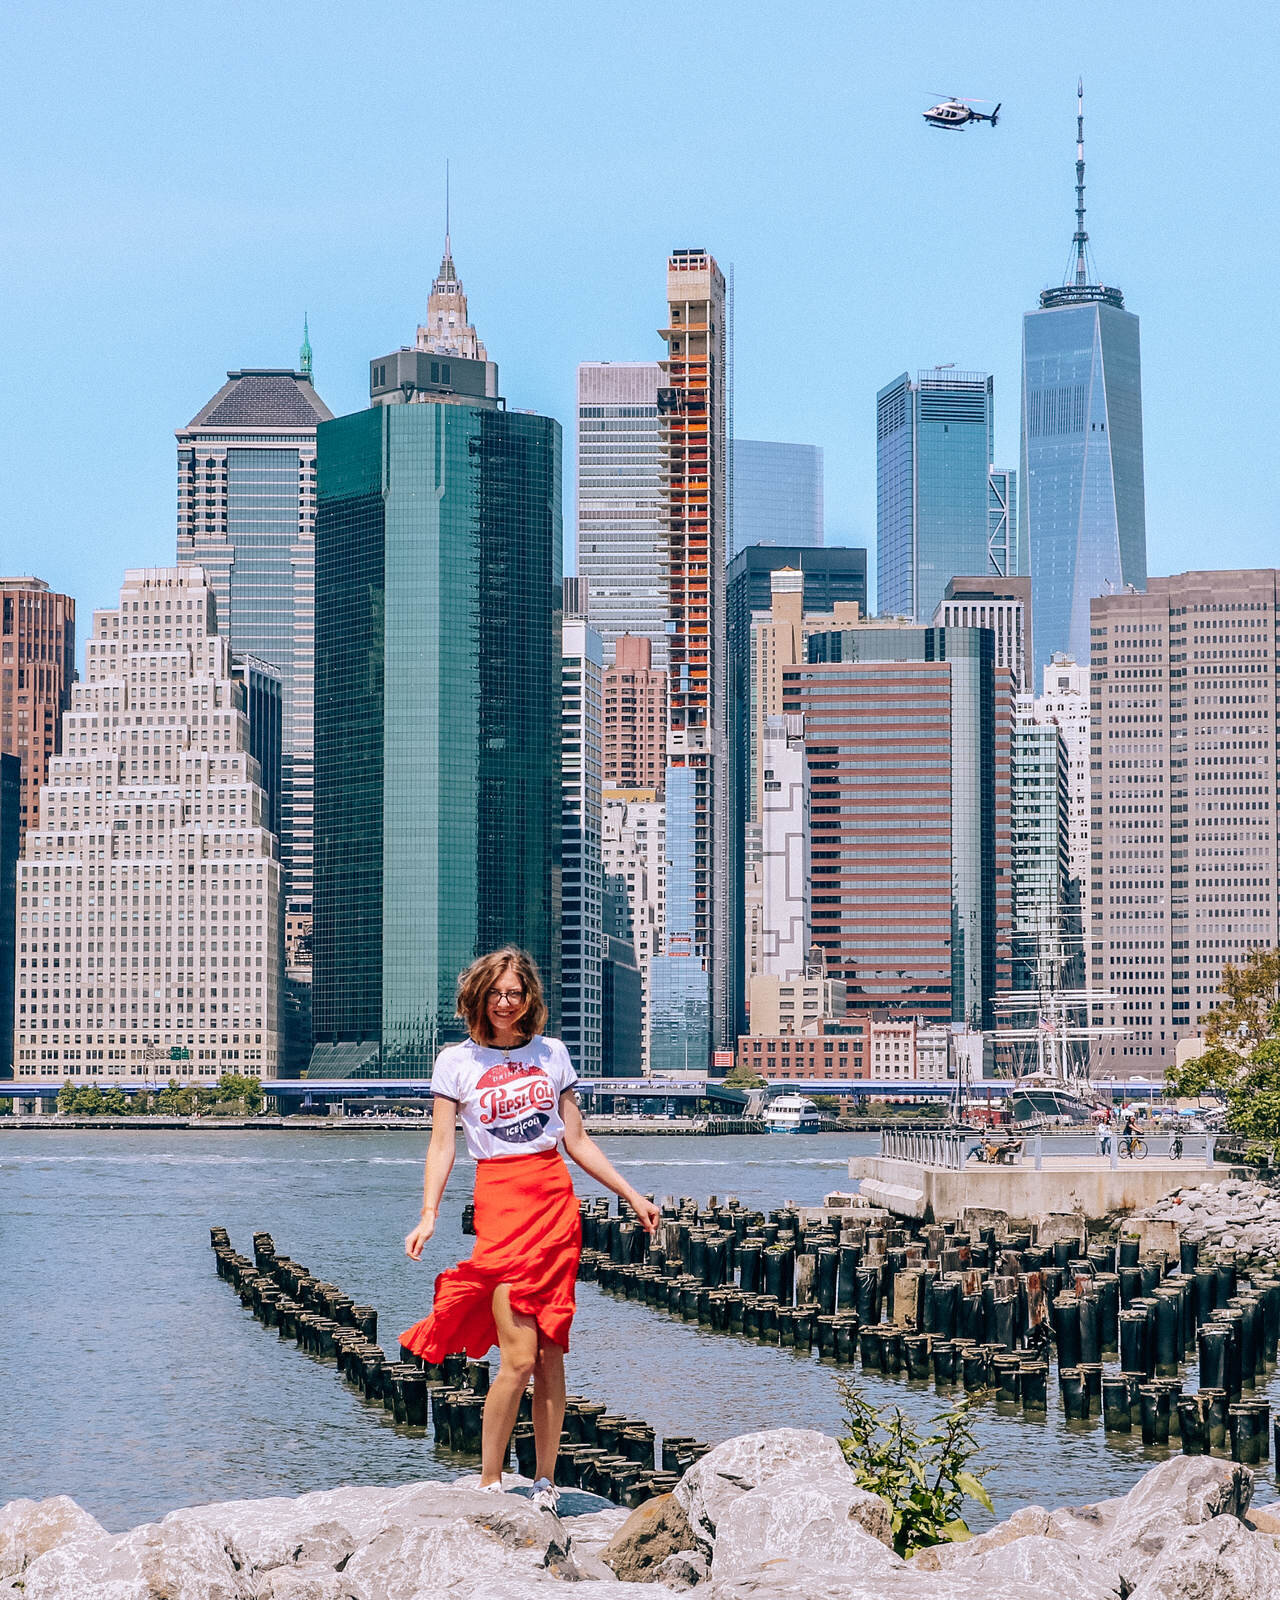
Skyline from Brooklyn Bridge Park
Photo tips and locations
Head to Brooklyn Bridge Park and head to what is labelled Old Pier 1 on Google Maps. This was my favourite Manhattan view and you can get some cool shots, especially with the compression on a zoom lens.
Chinatown is so fun to capture the hustle and bustle of. Head to Doyers Street during the golden hour for this lovely light down the street.
Brooklyn, Chinatown and Little Italy are all great if you like portrait photography or human interest photography.
Day 4
Area: Dumbo/ Chinatown/ Upper West Side/ Manhattanville
Sites covered:
Dumbo view of Manhattan Bridge
Museum at Eldridge Street
American Museum of Natural History
Upper West Side bookshops, cafes, stores
Columbia University
Tips
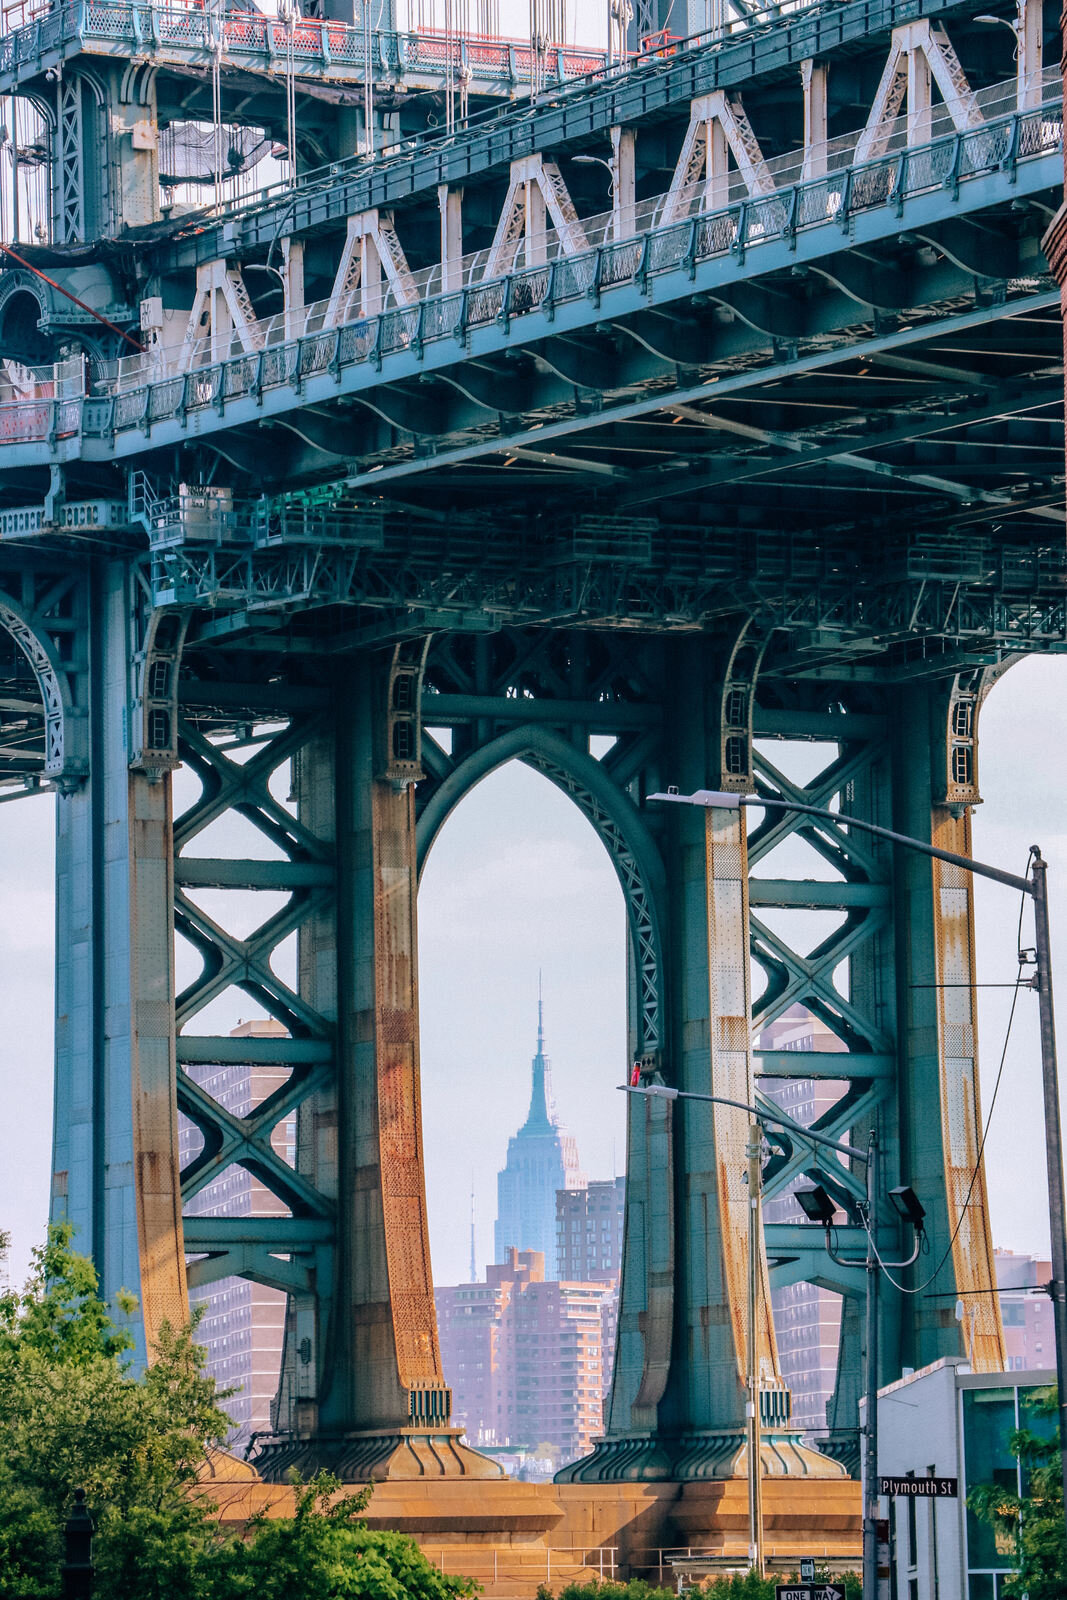
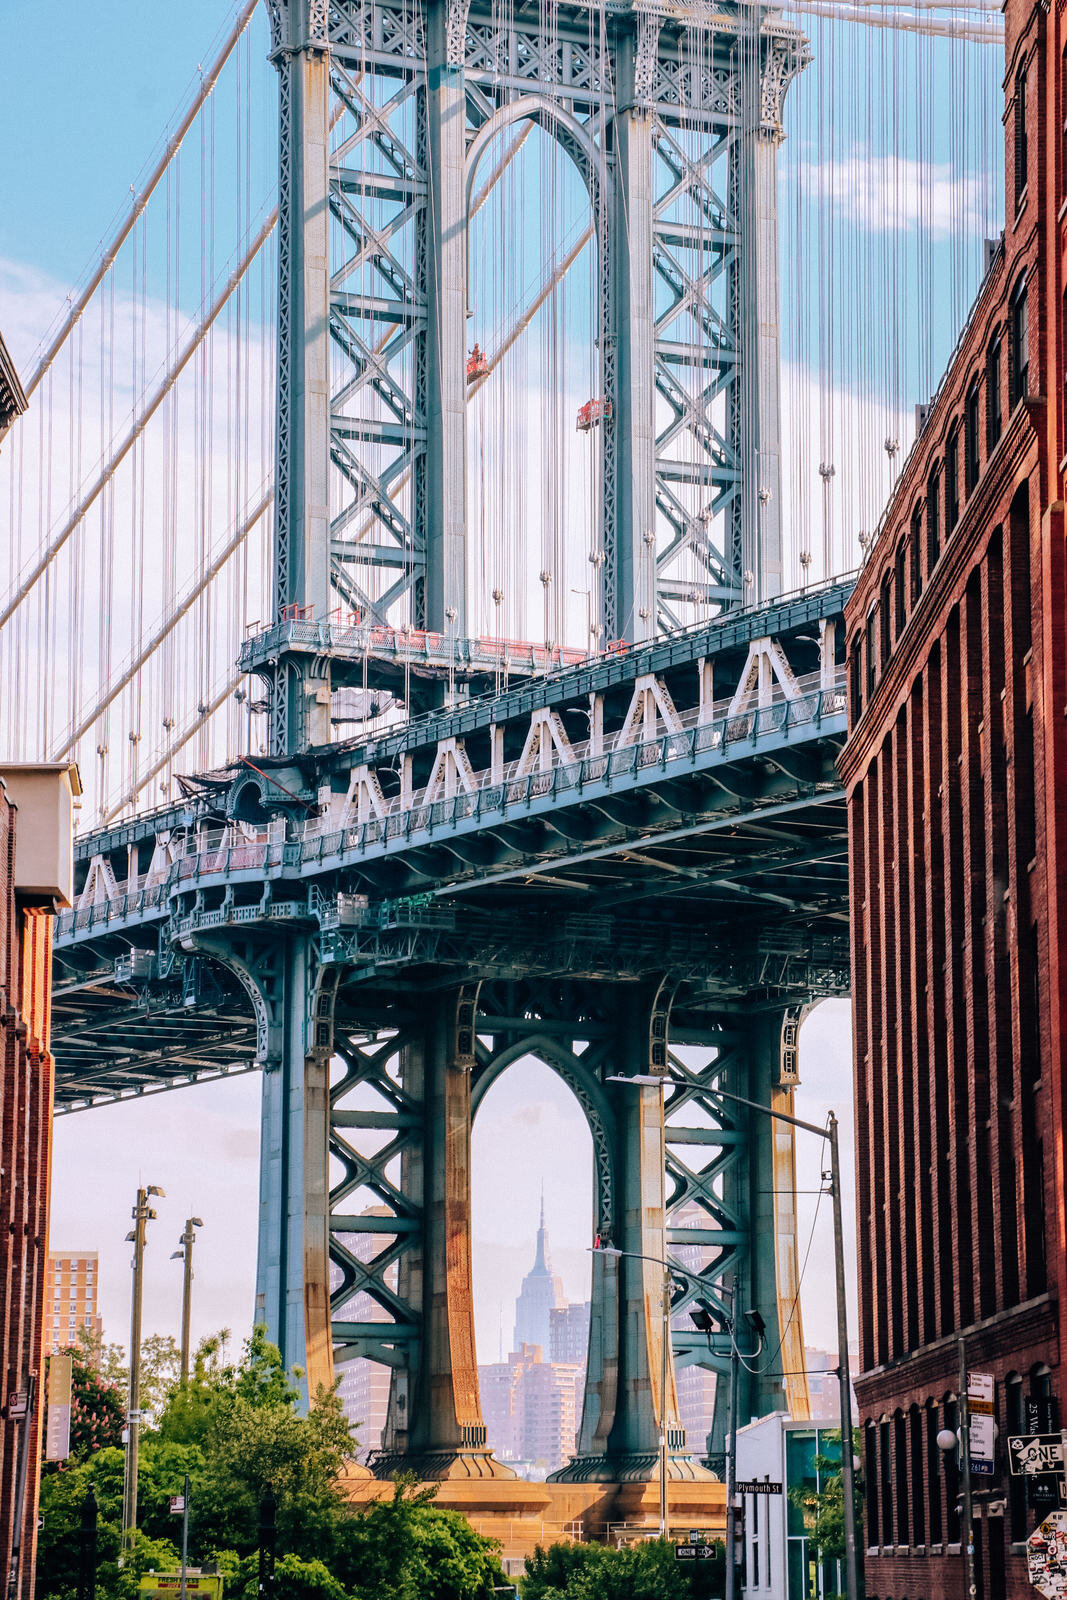
Empire State Building seen through Manhattan Bridge
This was a bit of an all over day but we made sure to get to Dumbo early (mostly for photos of the famous Washington street) but also because we were going to walk back to Manhattan across the Brooklyn Bridge. We got to Dumbo (blue line on the metro) for around 9.30am so it wasn’t too early and there were barely any people - perfect time to go.
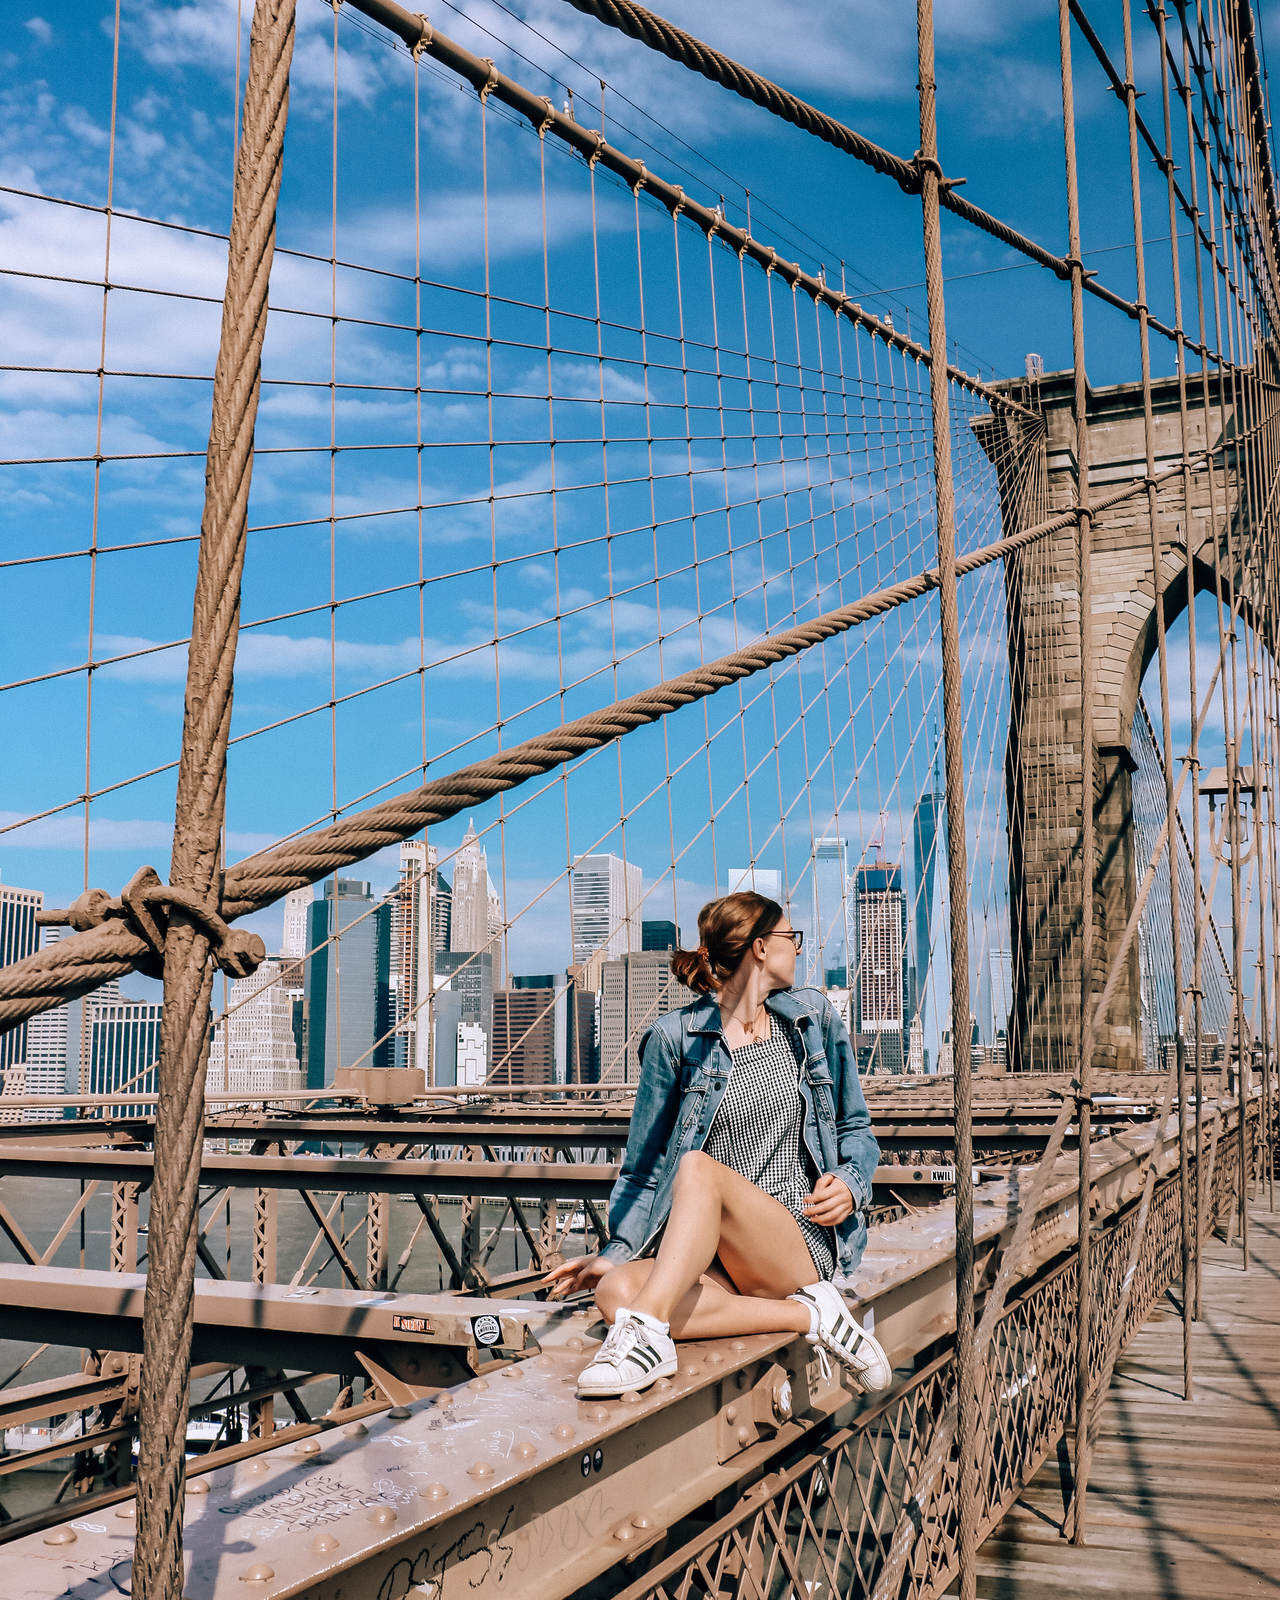
For walking the Brooklyn Bridge I would recommend going earlier in the day to avoid the crowds - it was already starting to get busy at 10am. Also if you’re visiting in the summer you need to go early - it was almost 30C (100F) at this time of the morning, it was so hot and there is no shade or shelter walking the mile across the bridge. Equally it’s very windy so if you’re going in winter you would need to wrap up very warm!
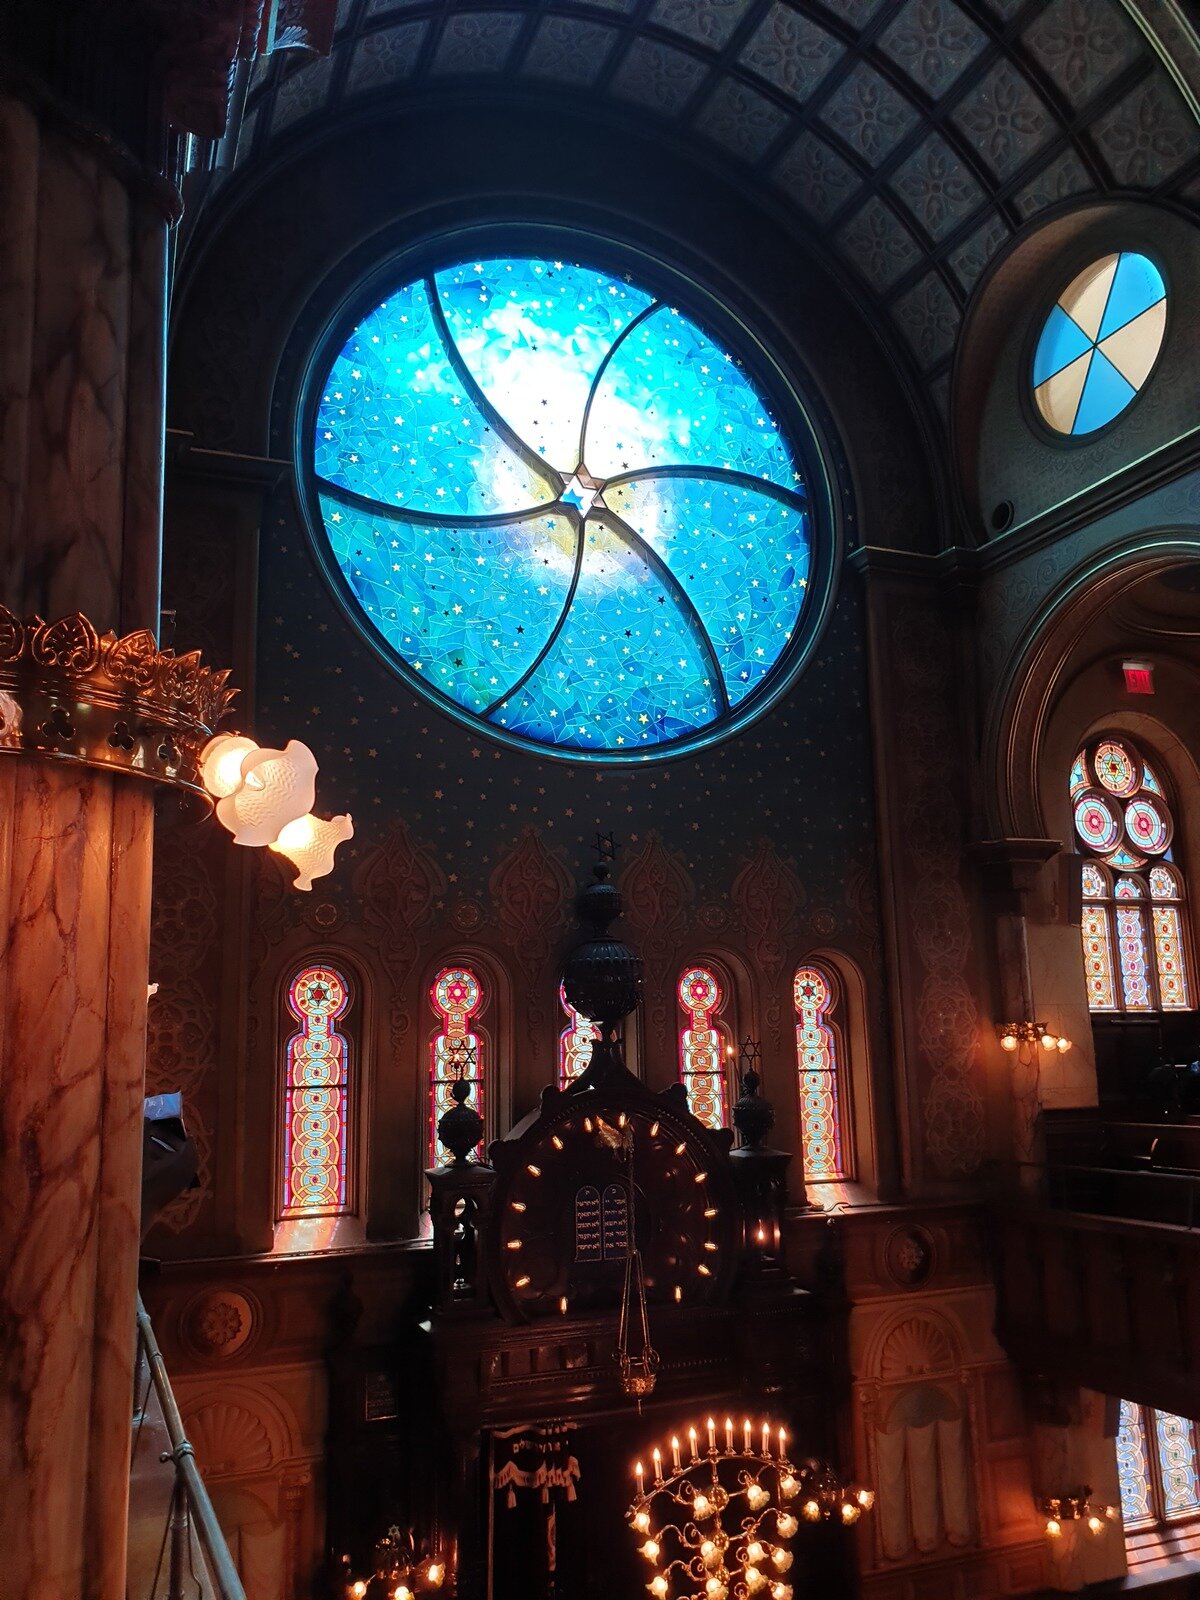
the Museum at Eldridge Street is probably one of the places you’ve not heard of before. It’s a restored Synagogue in the Chinatown area and it is stunning, with so much history and care take to restore it and beautifully ornate decor, including a vivid blue stain glass window. The reason for going today and not the previous day (since we were in Chinatown the day before) is because Mondays are “pay what you like” for entry into the museum. Normal tickets cost is $14. Note that the Museum is closed on Saturdays and for major Jewish and national holidays.
The American Museum of Natural History ticket was included in our City Pass and also included one of the Theatre shows - either the Blue Planet or Dark Universe show in the planetarium theatres. We saw the Dark Universe show narrated by Neil deGrasse Tyson and it was amazing. The shows are every half hour and the last one is at 4pm so make sure you book your time slot when you show your tickets on entry so you don’t miss out.
The Natural History Museum is open everyday 10am-5.45pm.
Take some time to wander around the Upper West Side stores and cafes, it was a nice break after being in a museum for a few hours.
For book lovers, head to Westsider Rare and Used Books
- If you don't get the City Pass, Book your American Museum of Natural History admission here.
Photo tips and Locations
The famous view of Manhattan Bridge is on Washington Street at the corner of Water St. Search for Dumbo Manhattan Bridge - Photography Location on Google Maps. Go early in the day, people start to queue after 11am!
Morning is also great for walking across Brooklyn Bridge because the light isn’t as harsh yet.
Museum at Eldridge Street is stunning to photograph but you’ll need your low light camera settings at the ready - especially to capture the colour of the blue glass window with the light coming through it into the dark room.
the Upper West Side is perfect if you like street photography - cobble streets, cute shops, red brick buildings.
We visited Colombia University to see a friend but I’d recommend visiting if you enjoy photographing interesting architecture.
Day 5
Area: Midtown/ Statue of Liberty/ Chelsea
Sites covered:
Top of the Rock - Rockefeller Center viewing platform
The Statue of Liberty
Ellis Island
Hudson Yards
The High Line
Tips
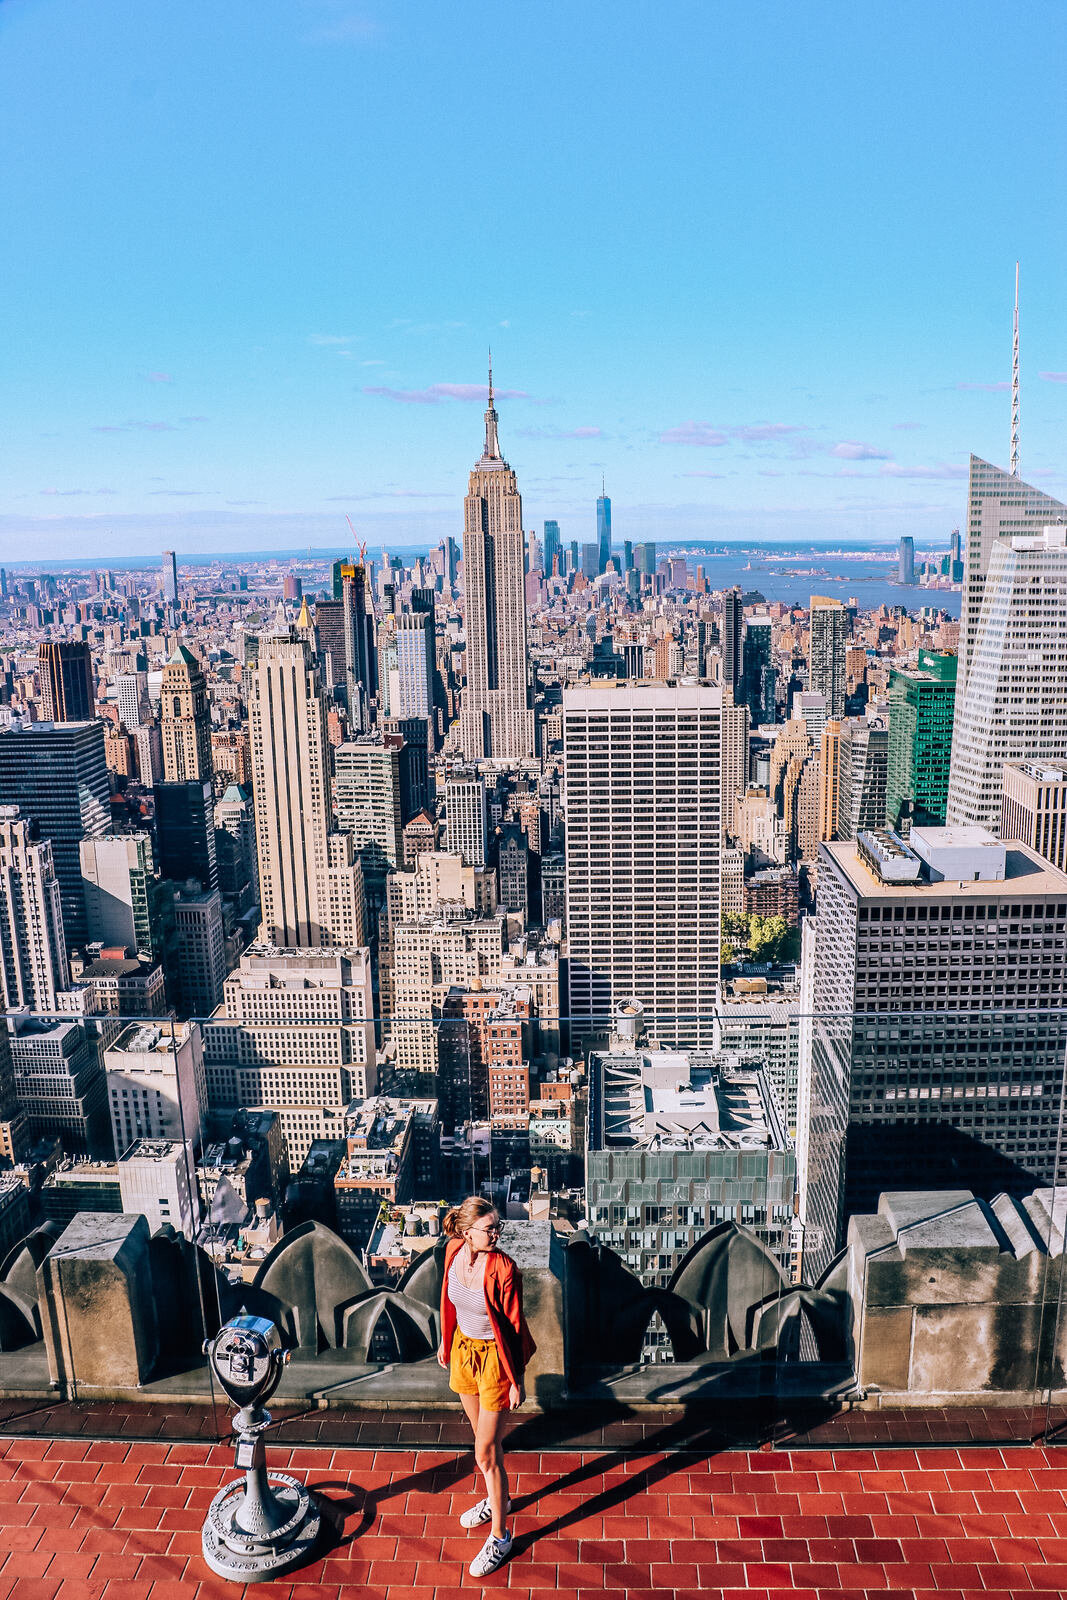
- You do need to book Top of the Rock in advance. Sometimes that might just mean turning up at 10am to buy the next available slot which is at 1pm. I’m sure there will be occasions in the low season where you can just turn up and buy a ticket. But if you’re on a schedule, short on time or want a sunset time slot I would suggest booking your time slot in advance to avoid missing out. Top of the Rock is included in the City Pass and if you follow the link on the City Pass website you can reserve your visit slot.
- If you're not getting the City Pass, Book Top of the Rock admission here.
The Statue of Liberty and Ellis Island were also included in our City Pass and it was probably the most unexpectedly enjoyable thing we did. The tickets include the boat to the Statue, the boat onwards to Ellis Island and the boat back to Manhattan as well as entry to the Ellis Island museum. If you want to climb to the crown of the Statue you will need to book this in addition and in advance. The information centre at the Statue is really informative and interesting, Ellis Island museum was incredible, if you enjoy history you’ll love it. I learnt a lot and even if you don’t like museums I still think this is recent and interesting and engaging enough that most people will enjoy it. Plus the boat ride is fun.
- Book a combi ticket here for the Statue of Liberty, Ellis Island and the ferry if you don't plan on using your City Pass.
Take snacks. The food on the boat and on both islands is very expensive!
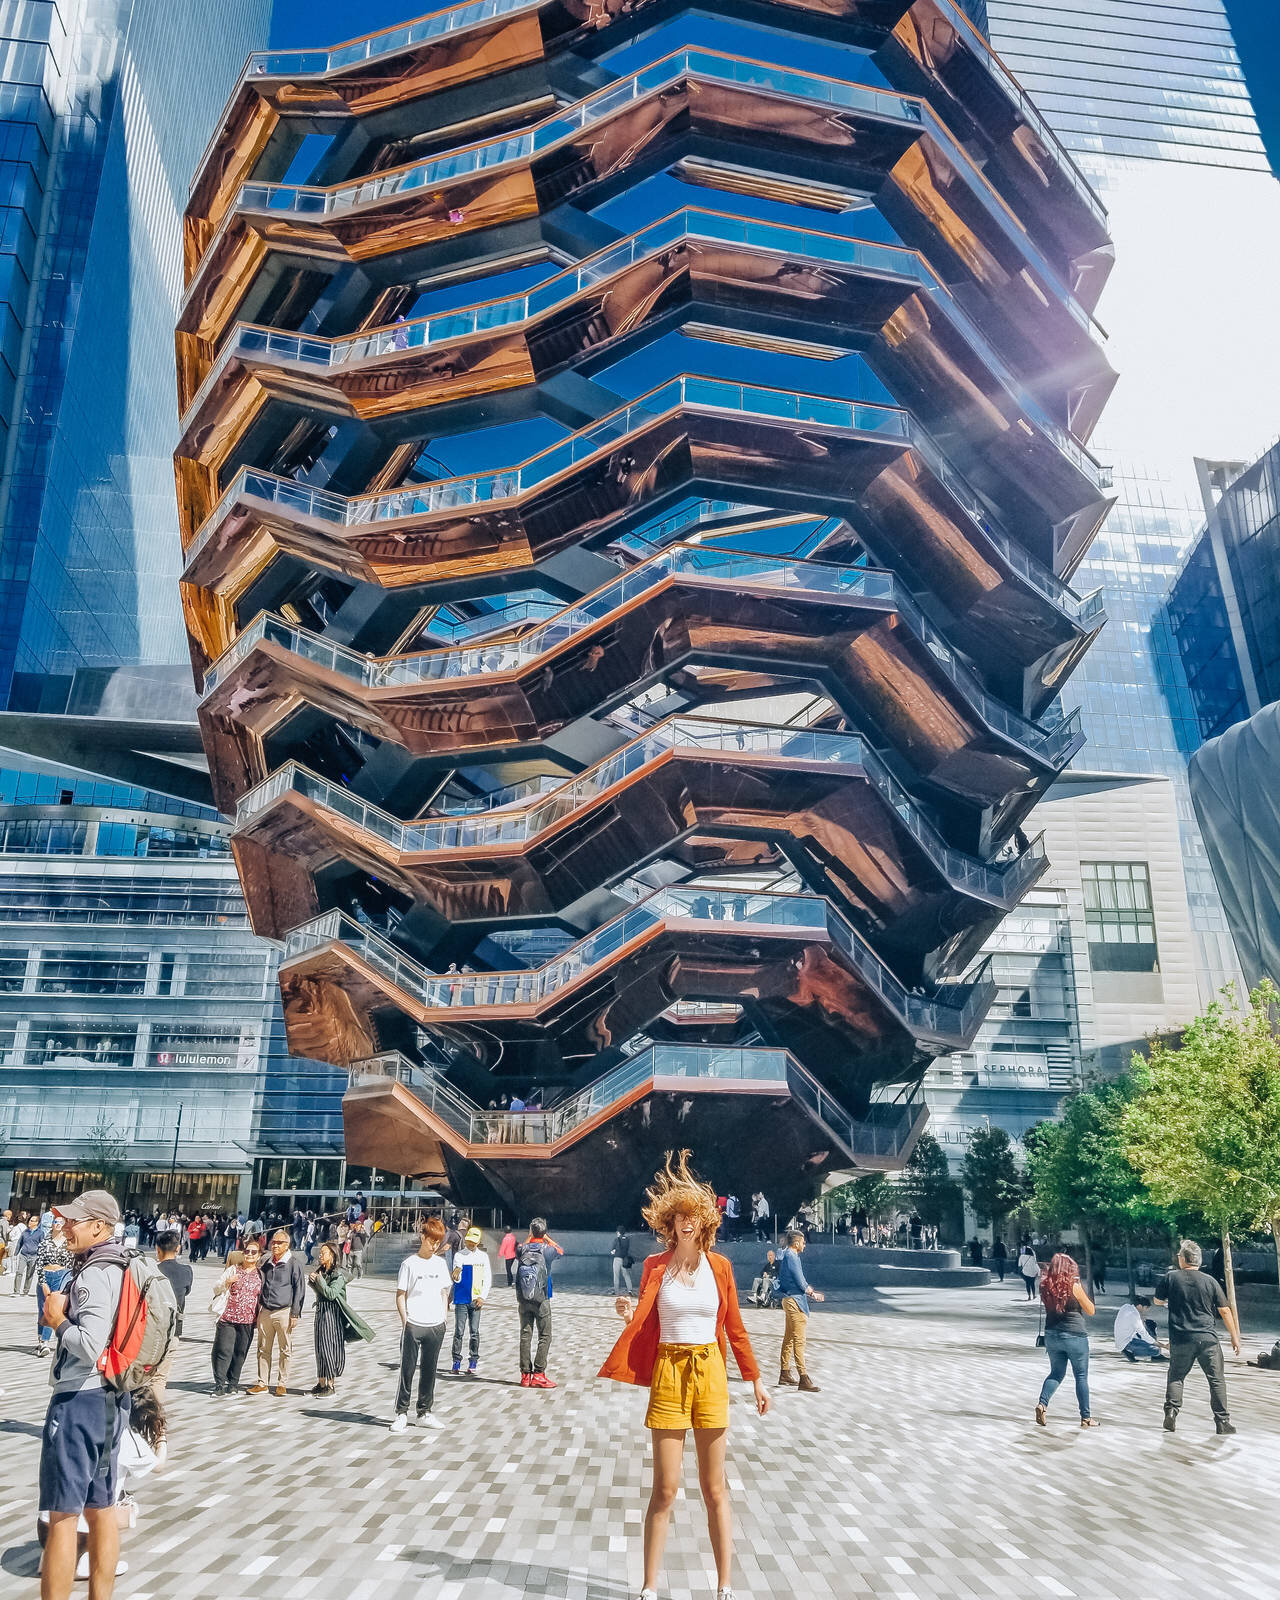
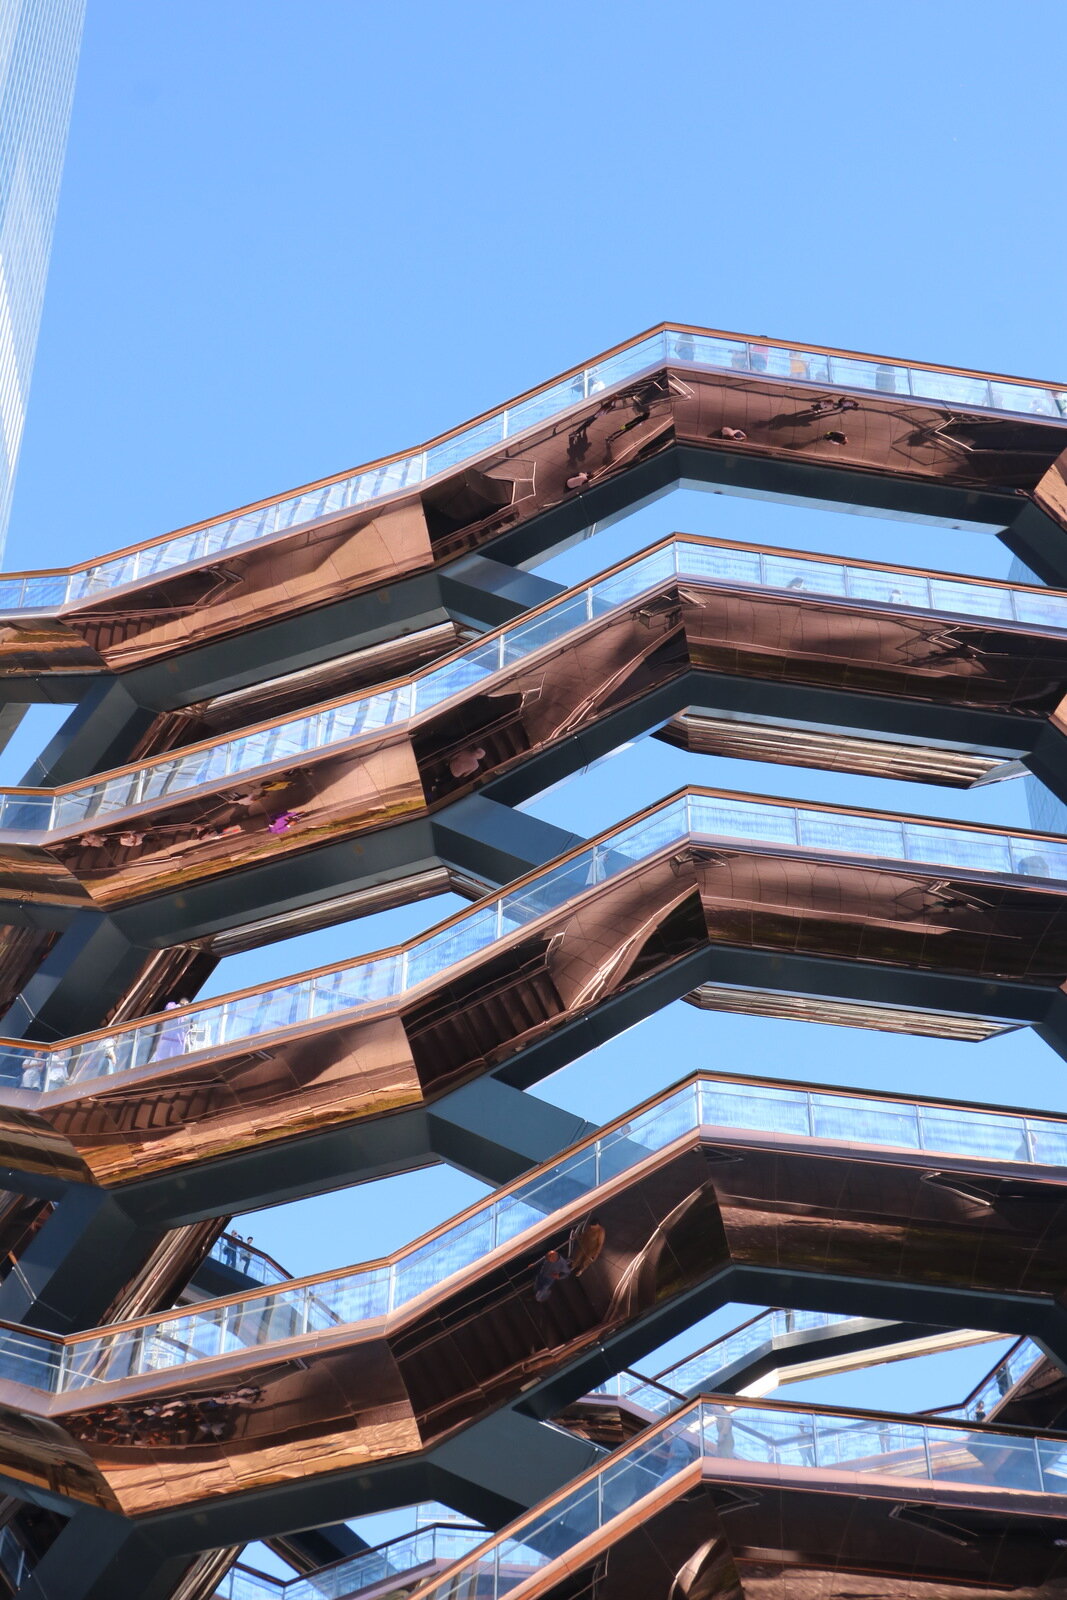
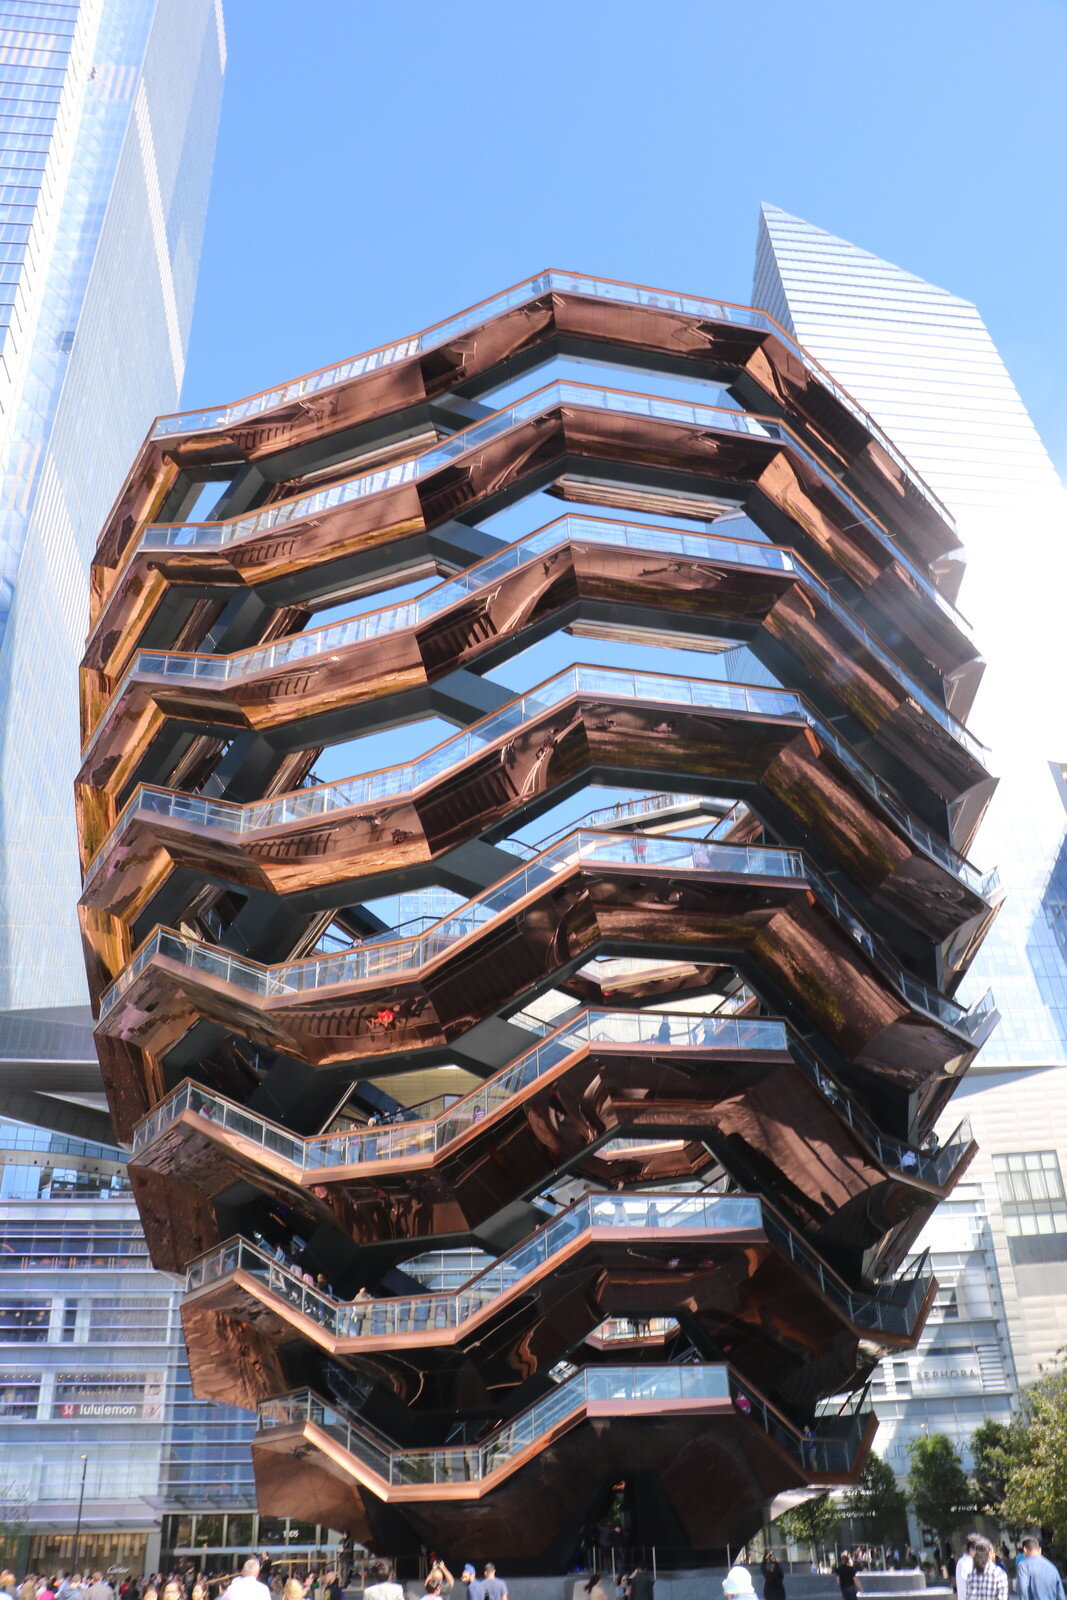
Hudson Yards is a very new attraction. They only opened the ‘Vessel’ this year. You can climb it for free but you’ll need to book online ahead of time here. Tickets are available two weeks in advance so keep an eye out for your time slot. There are limited same-day tickets available (which we missed out on).
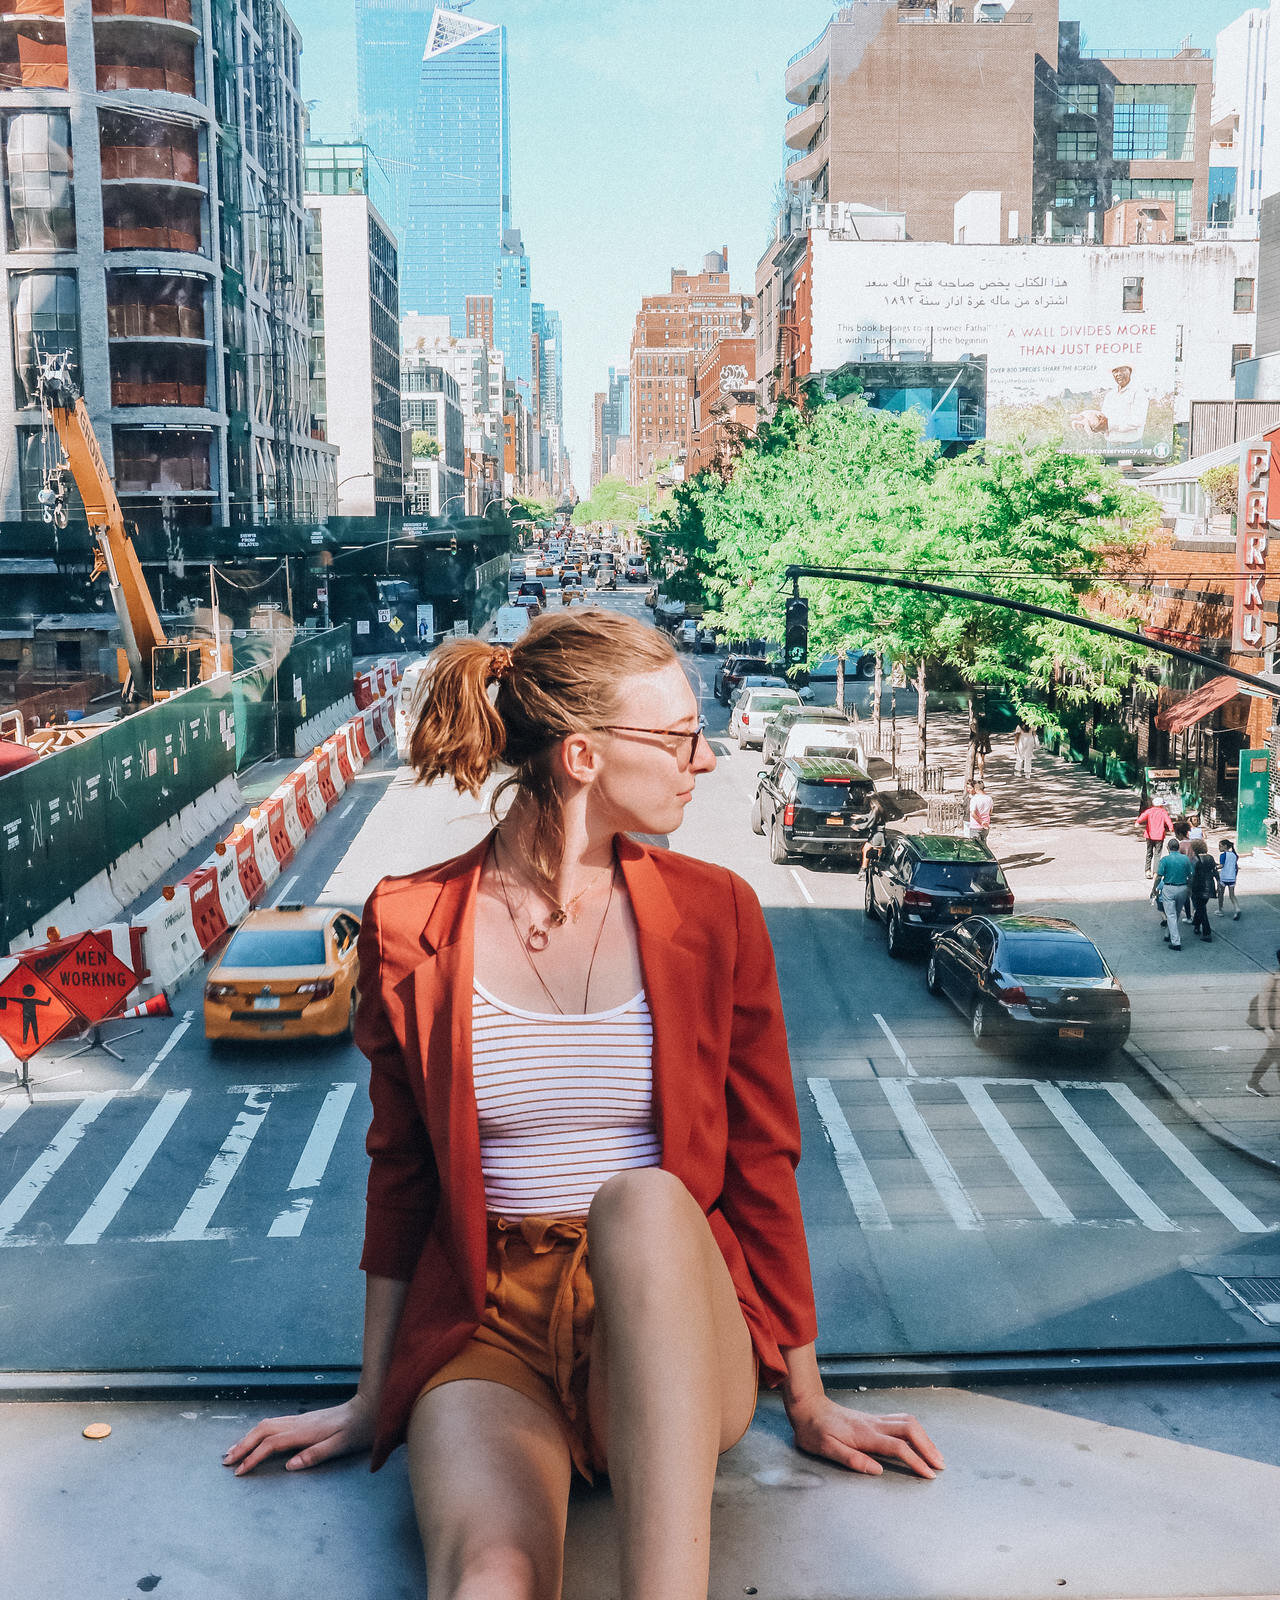
I cannot recommend the High Line enough - this was probably my favourite place in New York that we visited. Walk the 1.5mile long public park elevated above the streets of New York on what used to be an old goods railway track. It really is an oasis from the city and there’s plenty of places to stop, rest, take in the view and even grab a drink. Read more here.
The entrance to the High Line is right on the corner with Hudson Yards so it’s super easy to do both.
Looking for tour options at The High Line or Hudson Yards?
Why not combine Hudson Yards with admission to one of New York's newest observation decks?
Photo Locations and tips
If you want the ‘famous’ Top of the Rock shot on the viewing platform you’ll need to book the 8am time slot as this is when it’s quiet with hardly any people around.
Hudson Yards is awesome to photograph either in front of or inside the honeycomb structure. I’d recommend going before the sun is too high in the sky so it doesn’t reflect too much of the glass buildings around it and cause lots of shadows.
The High Line has loads of awesome aerial street photo ops. My favourites are located where the park crosses 10th Avenue - you won’t miss it, there’s a big seating area with glass windows - see the photo below. Also the view over 20th and 14th Street.
Day 6
Area: Central Park/ Upper East Side/ Tribeca
Sites covered:
Central Park
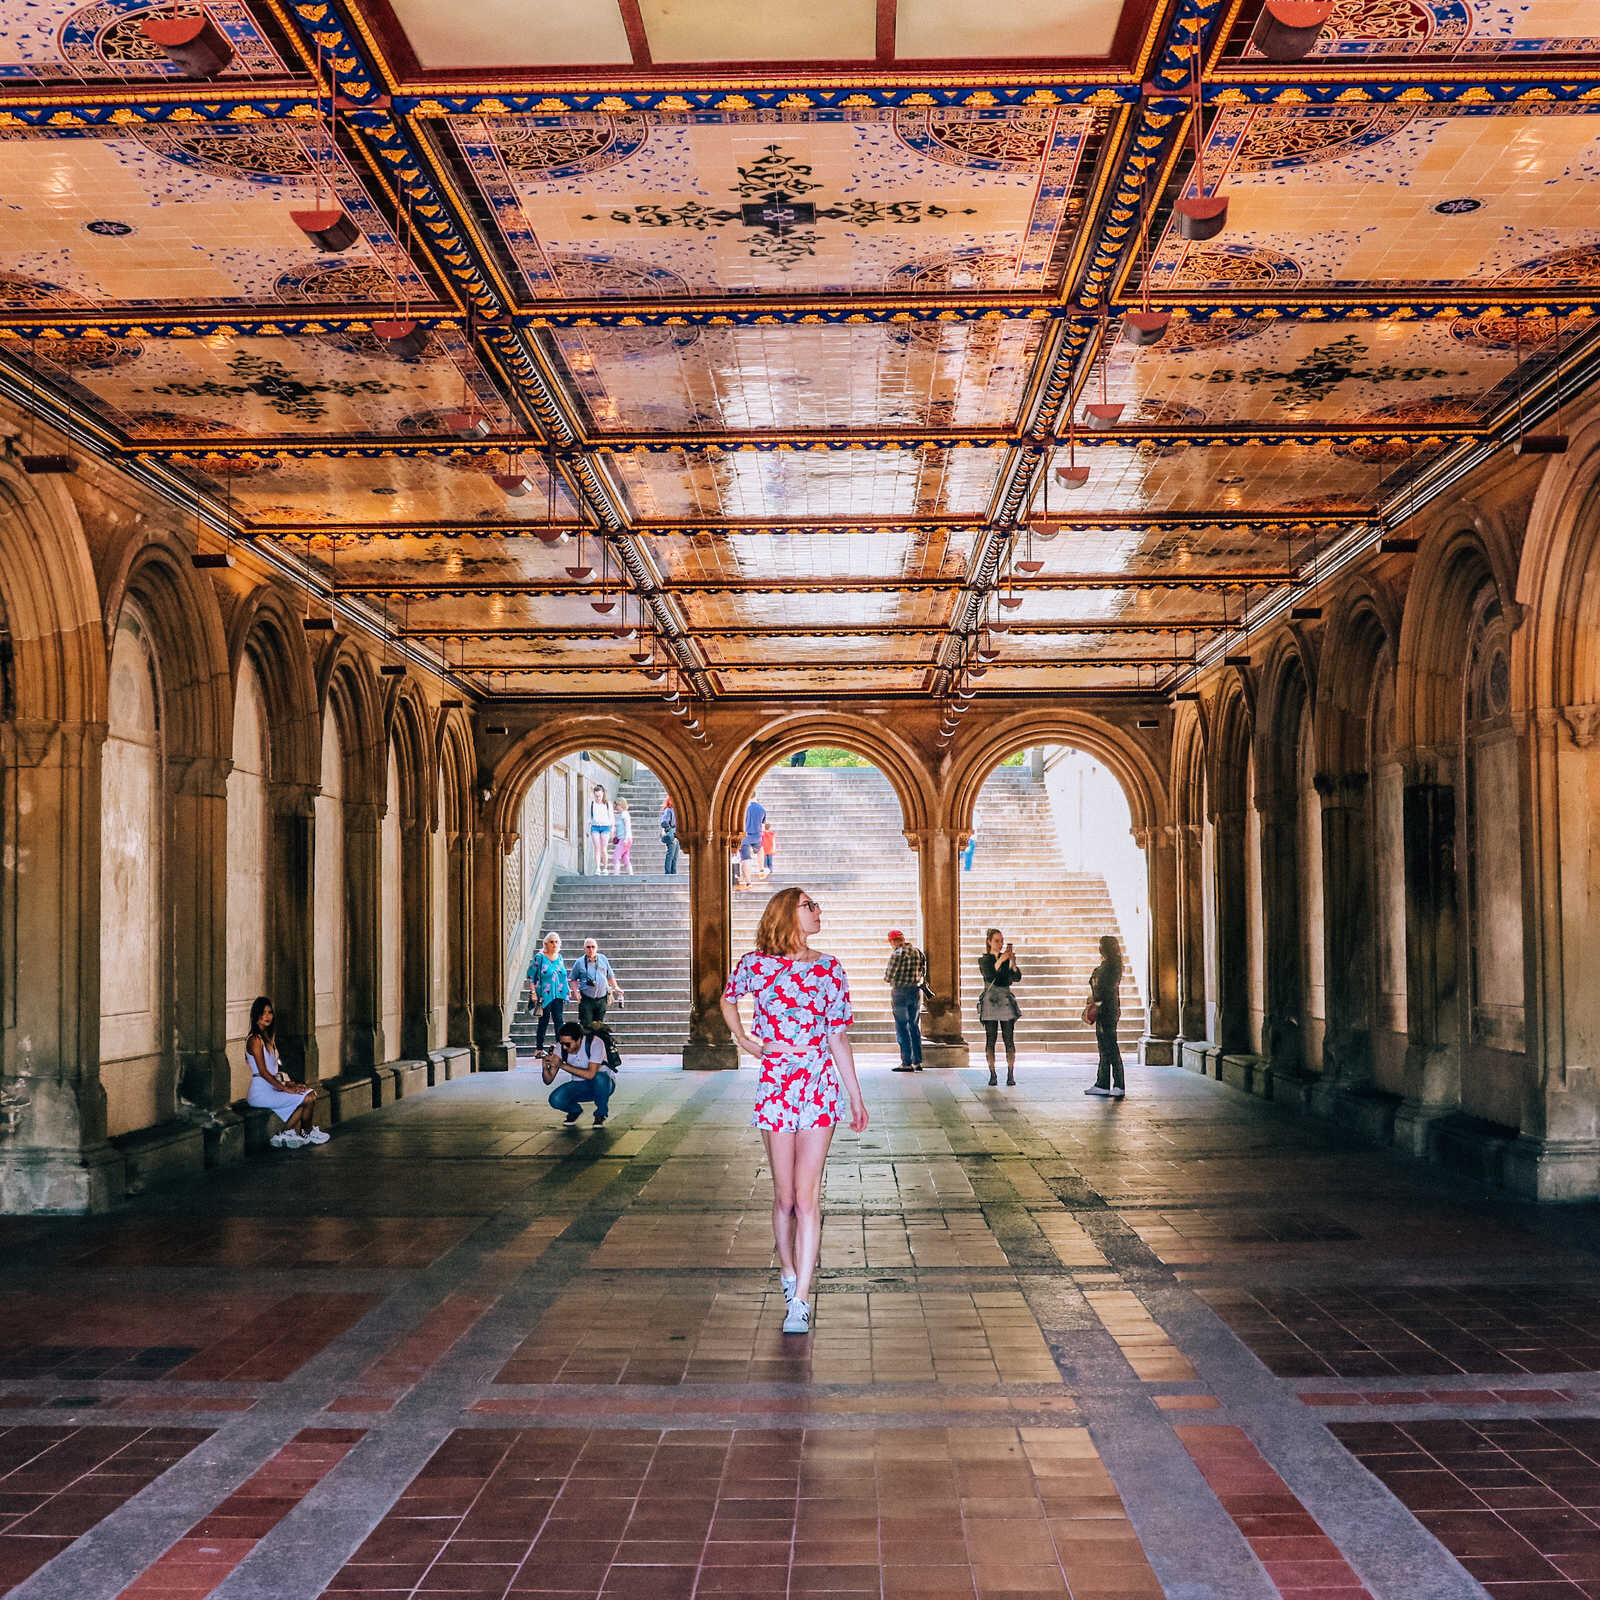
Central Park - Bethesda Terrace and Fountain
Central Park - Bow Bridge and Lake
The Metropolitan Museum of Art (The Met)
The Met Rooftop Bar
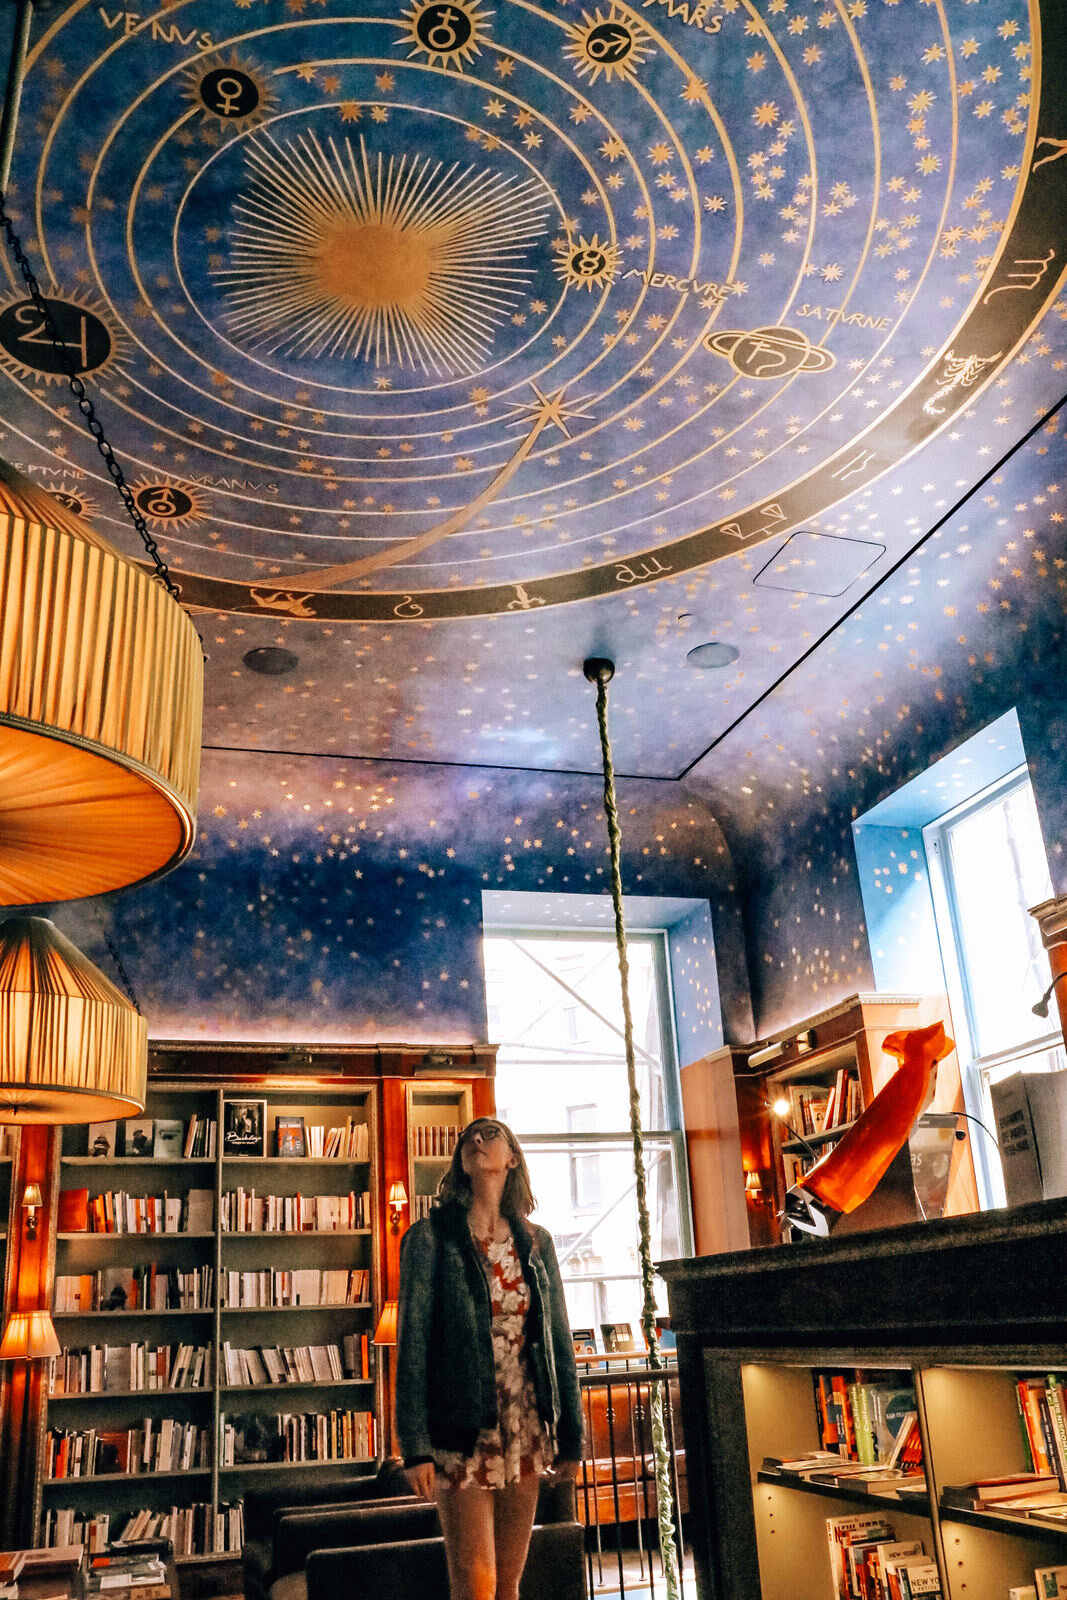
Albertine Books (Upper East Side)
FDNY Ladder 8 (the fire station from Ghostbusters)
Staple Street Sky Bridge
Hudson River Park - Pier 25 and Pier 34
Tips
Rooftop view from the Metropolitan Museum of Art New York City
Ideally we would have spent more than a couple of hours wandering around Central Park - it is huge. We saw the well-known area with the Terrace, Fountain and Bow Bridge (the places you always see in movies) but there are other lakes, a castle and you can row a boat for $15 on the lake.
Walk through Central Park to get to the Met.
The Metropolitan Museum of Art is HUGE. I’ve never seen anything like it. We picked 4 or 5 main areas we were interested in because we knew we wouldn’t be able to cover it all. The great thing is that the museum knows this, so your ticket is valid for 3 consecutive days after too - so you can come back and see more because it really isn’t possible to see it all or take it all in just in one day! The Met ticket was included in our City Pass too. Tickets are also valid for those 3 days at the other Met locations - Met 5th Ave, Met Breuer and Met Cloisters.
The Met rooftop bar is free to go up to - you don’t need to buy a drink either. Just head up and enjoy the view over Central Park and the skyline.
We hopped across the city from the east to the west side taking the Q line (yellow) then 1 line (red) to get to the FDNY Ladder 8 - it’s still an active fire station and the Ghostbusters logo is on the floor outside!
We wanted to head over to the west side to watch sunset on one of the piers on our last evening. Take a stroll along the river, it feels like a community area, lots of joggers, dogs and dog parks, people sitting outside picnicking.
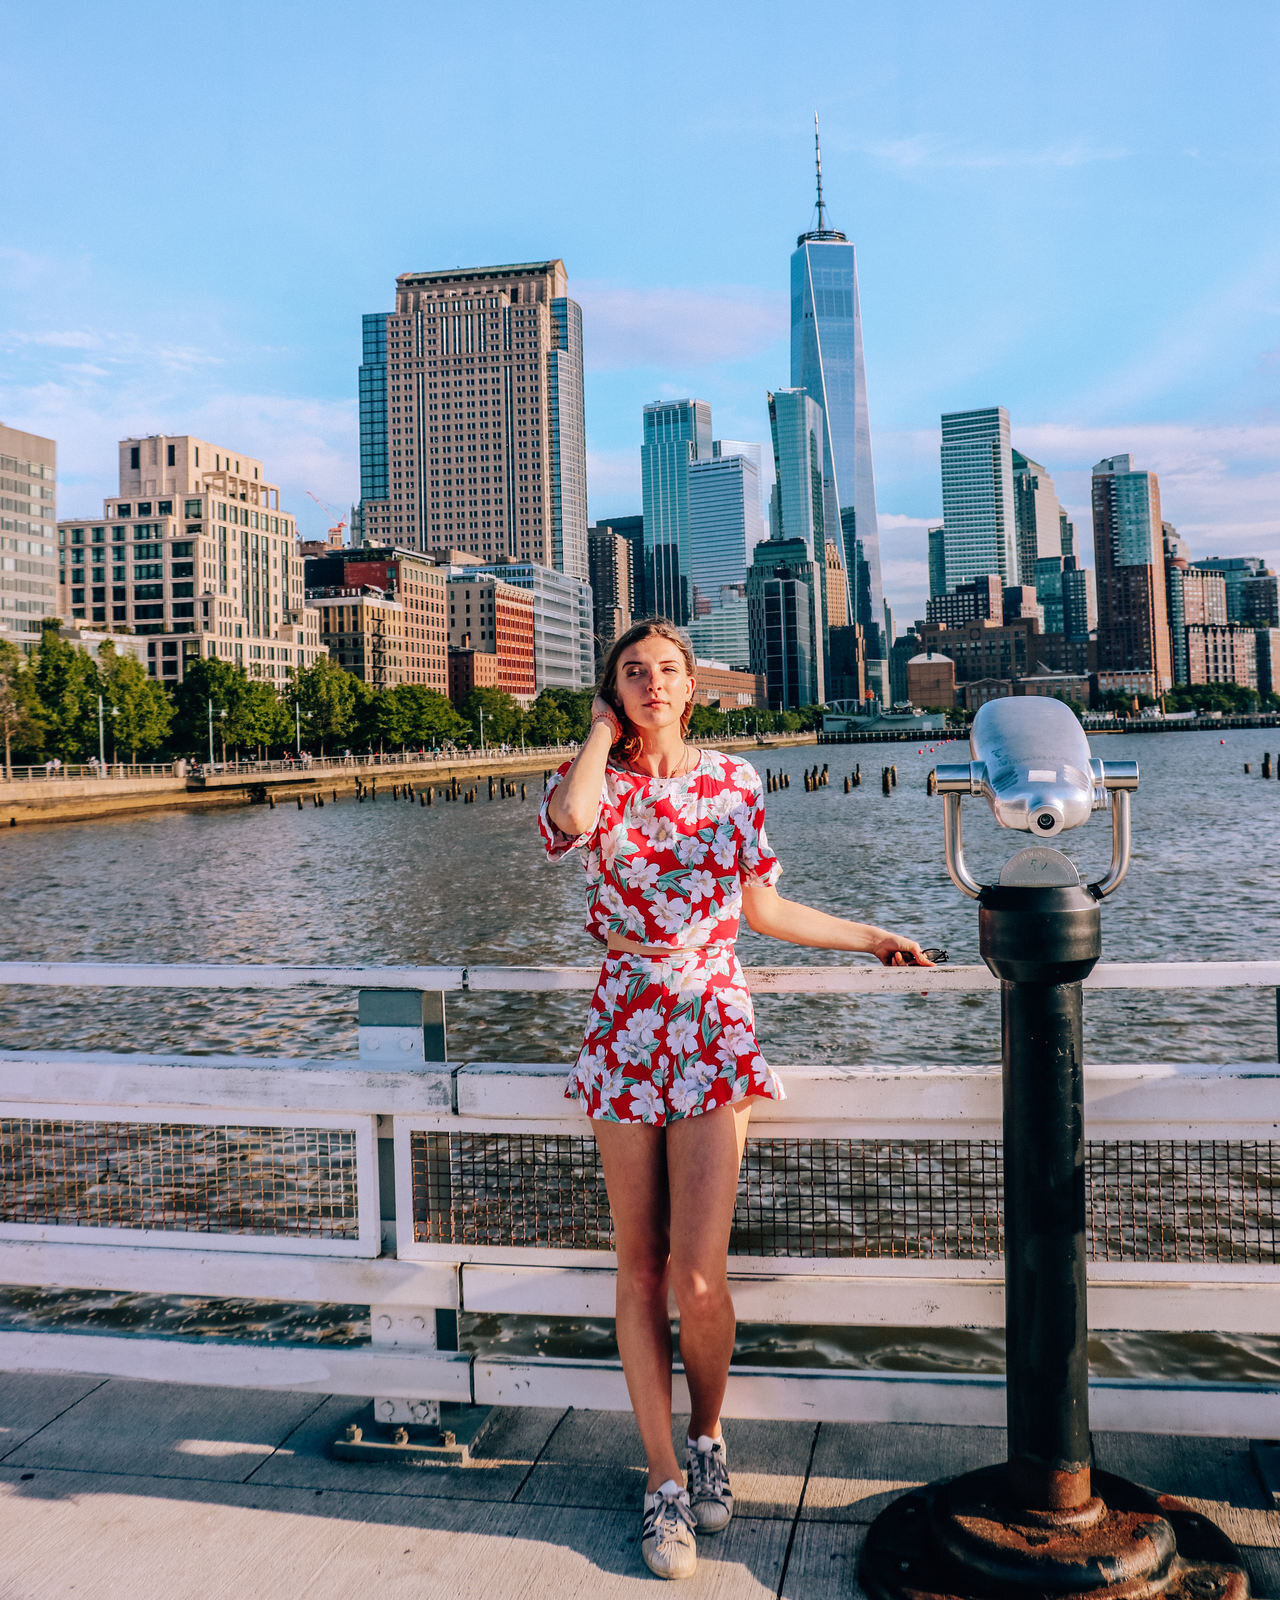
My favourite sunset view of Manhattan is Pier 34.
If you’re looking for somewhere to eat afterwards I can wholeheartedly recommend Black Tap Craft Burgers & Beer - amazing burgers, the biggest crazyshakes I’ve ever seen and without a doubt the cheapest craft beers we had all week (only $8 which is cheap for New York).
Photo tips and locations
If you want to photograph Bethesda Terrace empty, you’ll have to go very early.
Albertine Books is a book store which is part of the French Embassy Cultural Programme, therefore you will need to go through security screening to go in there. The blue roof painting is upstairs where the children’s books are.
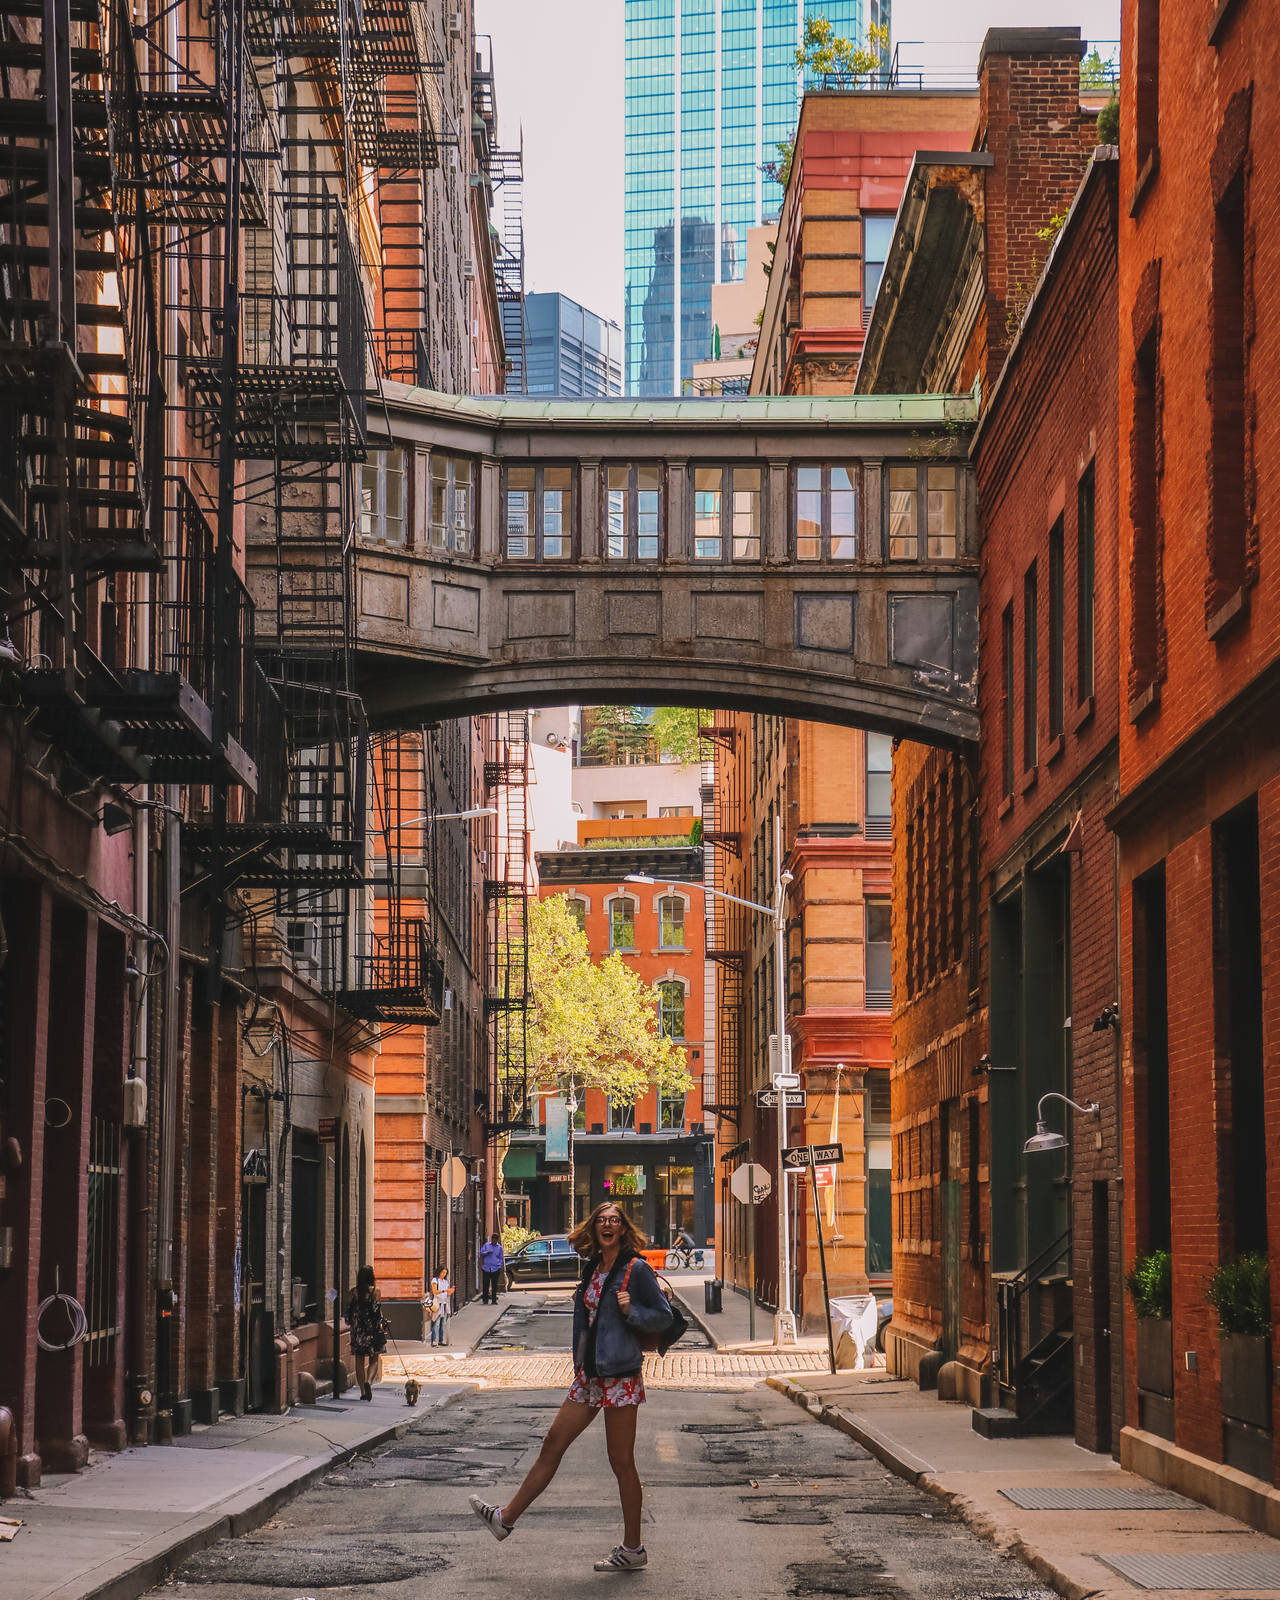
Staple Street Sky Bridge in Tribeca was surprisingly quiet at 5pm considering how much I’ve seen it on Instagram. The water puddles on the roads beneath it make great shots.
Pier 34 for a sunset view of Manhattan is gorgeous, take a walk all the way down the pier for different perspectives.
And there you have it - our 6 day itinerary which we did exactly as first timers to New York City. Don’t forget you can download the spreadsheet here to keep a copy on your phone when you travel.
If you use this itinerary, please let me know!
If you’re in a rush, save it for later to plan your future trip!
Flights: I use Expedia to find great flights and the best deals all over the world, they have regular sales and offers so I always check their website. I also check CheapOair to find cheap deals on round trip flights.
Car Rental: I love the customer service I've always gotten and the variety of options with Rental Cars. But for short notice rentals, I've been using Expedia for the last year, they always seem to have great one-day rates or last-minute rates from the main rental companies.
Accommodation: I prefer the flexibility of booking accommodation with Booking.com so I can cancel or change my reservation without a fee or only pay on arrival for most properties. For longer or more unique stays I prefer AirBnB because you can get the long stay discount, you can also find more unique properties and book experiences with talented locals and businesses. For my budget trips, I always stay in hostels and book through Hostelworld because they have great guarantees if anything does go wrong. If you arrive and your booking is not at the property, they refund the full deposit AND give you $50 extra credit.
Tours and organised trips Although I don’t use tours that often, I do like to book local experiences or day trips once I reach my destination. For that I use GetYourGuide because it has the biggest selection and variety of tour and experience options.
Travel Insurance: For all my longer trips and for the entire year I’ve spent in Australia, my partner and I have always used World Nomads. They cover everything I need and I can buy coverage for a year at a time, they also allow you to purchase cover when you’re already outside your home country. Plus my camera gear and equipment is covered and they also have special cover for when I’m scuba diving too.
My camera gear and equipment: I use a Canon 77D with an 18-135mm lens or a 50mm lens. And a DJI Mavic Mini Drone. For all my gear including laptops, tripods and more camera accessories read my travel photography gear guide.
